
Introduction to Lemon Curd
Why Lemon Curd?
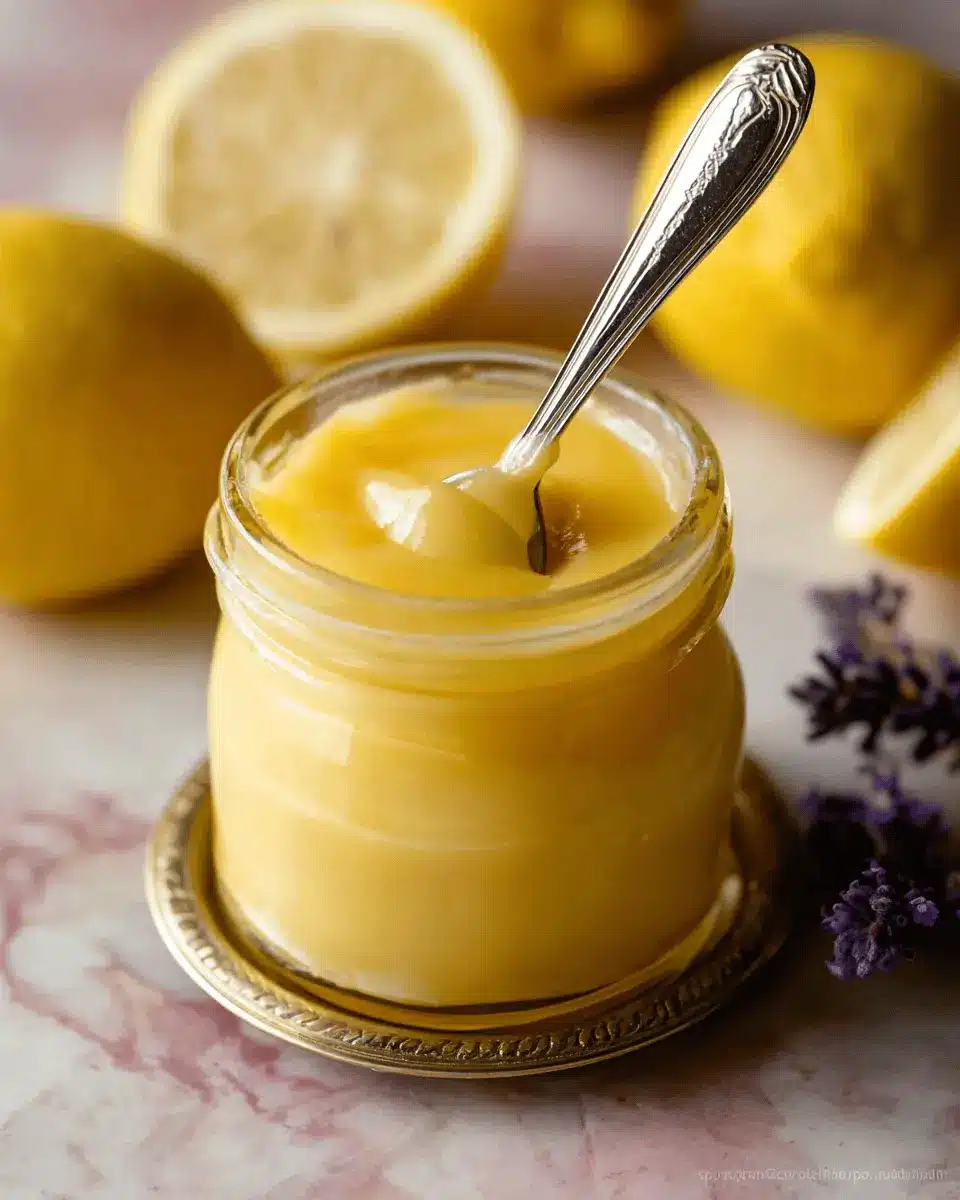
Lemon curd is a tangy and creamy dessert spread that captures the essence of fresh lemons in every delightful bite. It's not just about the flavor; this treat adds a touch of sunshine to your table. With the perfect balance of sweetness and tartness, it's no wonder why lemon curd has become a favorite among dessert lovers. Whether you're topping your pancakes or filling a tart, knowing how to make lemon curd can elevate your culinary game.
The Versatility of Lemon Curd
One of the best things about lemon curd is its sheer versatility. It can be used in numerous ways, making it a fantastic addition to any kitchen arsenal. Here are some ideas to inspire you:
- Spreader: Use it on toast, scones, or muffins for a bright, tasty breakfast.
- Filling: Incorporate it into cakes, pies, or tarts.
- Ingredient: Mix it into yogurt or desserts for added flavor.
- Dip: Serve it alongside fresh fruits for a sweet treat.
If you're unsure about how to implement this delightful concoction into your meals, fear not! The world of lemon curd is vast and waiting for you to explore its delicious potential. For a flawless recipe, keep reading to discover how to make lemon curd that will impress your friends and family.
Ingredients for Lemon Curd
Essential Ingredients for Lemon Curd
To create a velvety lemon curd, you'll need a handful of essential ingredients:
- 4 large egg yolks for a rich and creamy texture
- ⅔ cup (134g) granulated sugar to balance the tartness
- 1 tablespoon lemon zest (approximately one lemon) for that aromatic zing
- ⅓ cup (80ml) fresh lemon juice (around 2-3 lemons) for a punch of freshness
- ⅛ teaspoon salt to enhance the flavors
- 6 tablespoons (85g) unsalted butter, softened and cut into pieces for a luxurious finish
These ingredients come together to make a delightful topping for scones, filings for pastries, or a delicious addition to desserts.
Tips for Ingredient Quality
When learning how to make lemon curd, focus on ingredient quality:
- Freshness is key—opt for freshly squeezed lemon juice; bottled juice simply doesn’t compare.
- Use room-temperature butter for easier mixing. This ensures a smooth and creamy curd.
- When zesting your lemons, choose organic ones if possible to avoid pesticides.
For more tips on choosing the best ingredients, check out this guide. As you make this tangy treat, you will appreciate how these quality ingredients can elevate your lemon curd to the next level!
Step-by-Step Preparation of Lemon Curd
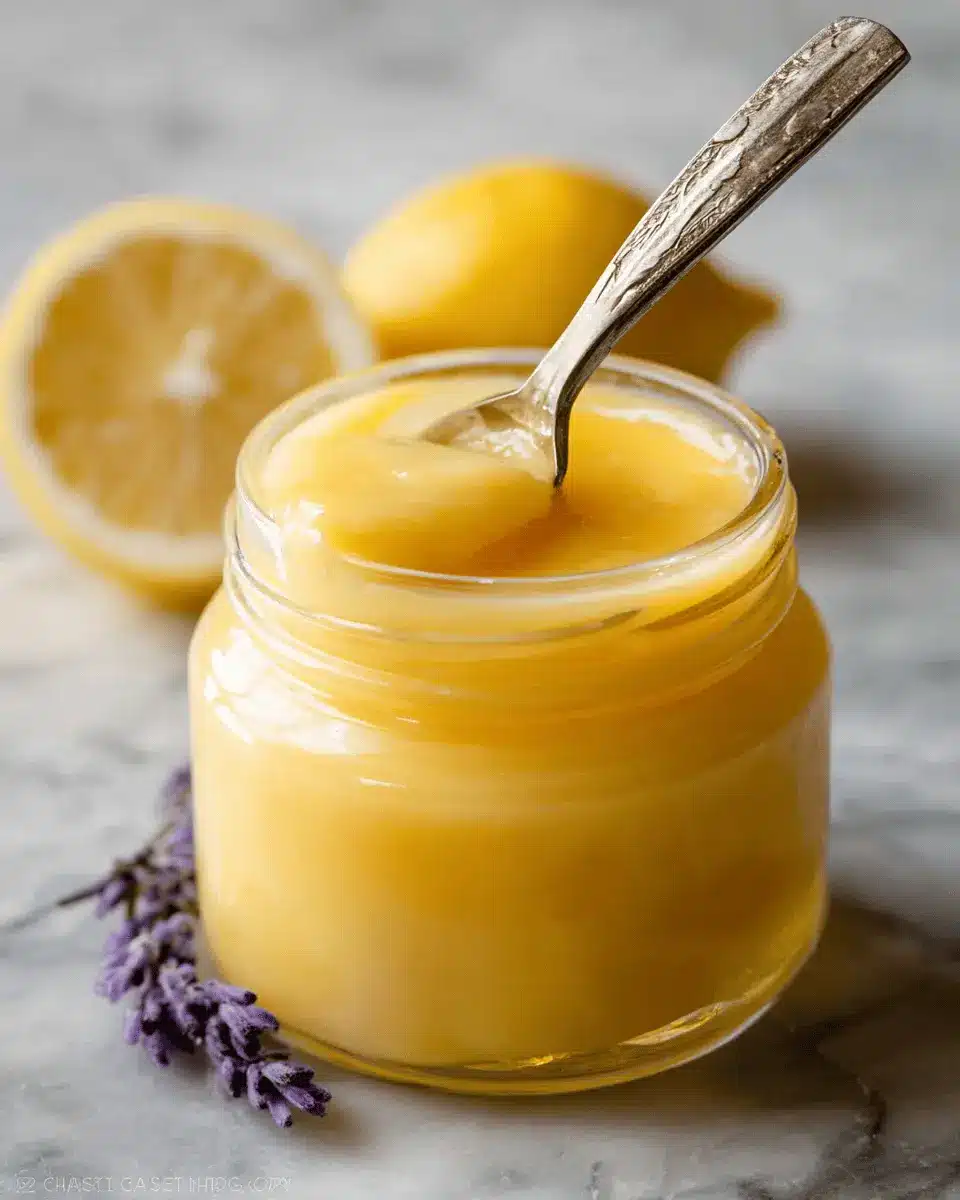
Making lemon curd from scratch can be a delightful culinary adventure. With its tangy taste and silky texture, it’s perfect for spreading on toast, using in desserts, or simply enjoying by the spoonful! Here’s a straightforward, step-by-step guide on how to make lemon curd that is both engaging and easy to follow.
Assemble Your Tools
Before diving into this bright and sunny recipe, ensure you have everything you need:
- A double boiler or a makeshift one (a heatproof bowl over a saucepan of simmering water)
- A whisk (a silicone one works great)
- A clean jar or bowl for storing your curd
- A measuring cup and spoons
- A zester or grater for the lemon zest
Having your tools ready will make the process smoother and much more enjoyable. You can find some of these tools here: Citrus Zester and Silicone Whisk.
Prepare the Double Boiler
Fill the bottom pot of your double boiler with 1–2 inches of water and bring it to a boil over high heat. Once it starts bubbling, lower it to a simmer. This gentle heat is crucial to prevent your eggs from scrambling, ensuring a smooth result. If you’re using a makeshift double boiler, just ensure the bowl isn’t touching the water directly.
Whisking the Ingredients Together
In the top pot of your double boiler, combine egg yolks, granulated sugar, lemon zest, lemon juice, and salt. Using your whisk, mix these ingredients thoroughly until fully blended. This is the base of your lemon curd, so don’t rush; take a moment to enjoy the fresh, zesty aroma of the lemon zest!
Cooking the Curd
Now comes the fun part—cooking! Keep whisking as you allow the mixture to heat. After about 10 minutes, it should thicken to a texture similar to hollandaise sauce (around 170°F or 77°C). Your constant whisking is vital; it prevents the egg yolks from curdling. If it’s not thickening, consider gently increasing the heat while continuing to whisk.
Adding the Butter
Once your curd thickens, it’s time to remove it from the heat. Whisk in the unsalted butter, one piece at a time. The residual heat will melt the butter and make your curd luxuriously creamy. After it’s all incorporated, transfer your curd to a jar, pressing a piece of plastic wrap directly onto the surface to prevent a skin from forming.
Storing Your Lemon Curd
Your homemade lemon curd can be stored in the refrigerator for up to 10 days, making it an excellent treat to have on hand. For longer preservation, consider freezing it; it can last 3–6 months when frozen. Be sure to thaw it overnight in the refrigerator before you enjoy it.
Creating your own lemon curd is not only simple but incredibly rewarding. With just a handful of ingredients and a bit of patience, you’ll have a deliciously tart treat ready for all your culinary adventures!
Variations on Lemon Curd
Thicker Lemon Curd
If you’re a fan of a richer, denser lemon curd, you can easily thicken your creation. Try swapping out two of the egg yolks for one whole egg. This small change can elevate your lemon curd to a luxurious texture that's perfect for tart filling or a decadent topping on desserts. The density will not only enhance its mouthfeel but also balance the tanginess beautifully!
Flavored Lemon Curd
Why stop at lemon? Get creative! Once you’ve mastered how to make lemon curd, you can experiment with various flavors. Stir in ingredients like fresh herbs (think basil or thyme), raspberry puree, or even ginger for a zingy twist. These additions can transform ordinary lemon curd into a standout component for pastries, cakes, or even yogurt parfaits! The possibilities are endless, so feel free to explore and find your signature flavor.
Cooking Tips and Notes for Lemon Curd
Fresh Ingredients Matter
When learning how to make lemon curd, the quality of your ingredients truly matters. Always opt for fresh lemons as their vibrant flavor elevates your curd. Using freshly squeezed lemon juice rather than the bottled kind makes all the difference. And don't forget to zest those lemons, as the zest adds an aromatic layer that enhances your final product.
No Double Boiler? No Problem!
If you’re wondering how to make lemon curd without a double boiler, don’t fret! Just place a heatproof glass bowl over a saucepan filled with simmering water. This method works wonders in achieving that gentle, even heat necessary for creating your perfect curd. Consistent whisking is key, so keep that wrist engaged to prevent any curdling!
Serving Suggestions for Lemon Curd
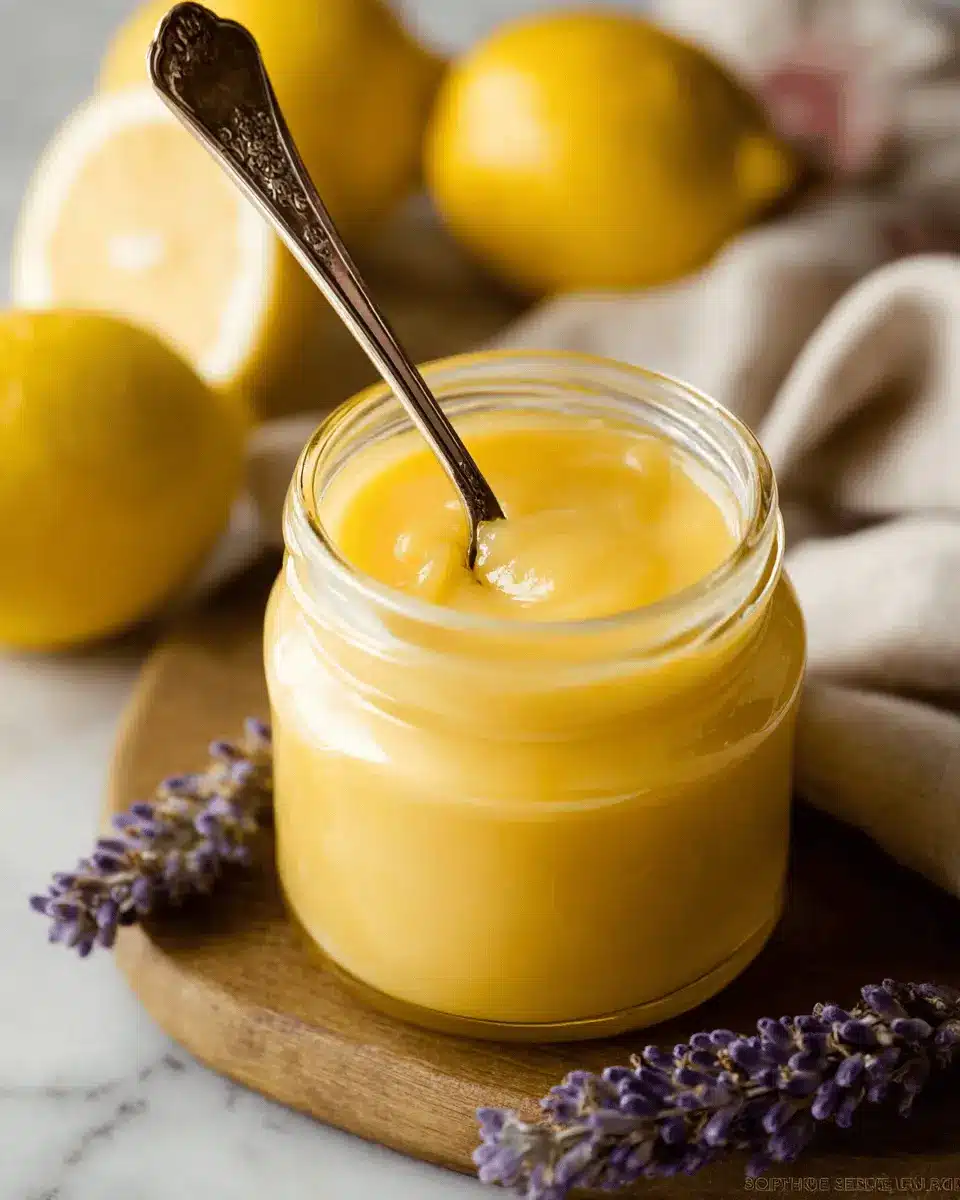
Lemon curd is a versatile treat that can elevate your meals and desserts with its vibrant flavor. Here are some delightful ways to enjoy it.
Perfect Pairings with Desserts
Lemon curd pairs beautifully with a variety of desserts. Spread it over scones, use it as a filling for layer cakes, or swirl it into meringue nests for an impressive finish. It also makes a fantastic tart filling, complementing fresh berries splendidly. If you've ever wondered how to make lemon curd really shine, consider drizzling it atop vanilla ice cream or mixing it into yogurt for a bright topping!
Breakfast Ideas with Lemon Curd
Kicking off your day with lemon curd is a refreshing choice! Slather it on toast or perfectly toasted croissants, or drizzle it over pancakes for a zesty twist. You can even stir it into oatmeal for a sweet, citrus burst. For an elegant brunch, serve lemon curd with Greek yogurt and a sprinkle of granola—an irresistible combination that will impress your guests.
Whether you're looking to enhance your breakfast or add a zing to your desserts, lemon curd is an excellent ingredient to have on hand. Happy cooking!
Time Breakdown for Making Lemon Curd
Preparation time
Gather your ingredients and tools; this should take about 10 minutes. Make sure your butter is softened for easier blending!
Cooking time
Cooking the lemon curd will take around 10 minutes. Remember to whisk constantly for that smooth, creamy texture.
Total time
You'll invest about 20 minutes from start to finish, including prep and cooking. In no time, you’ll have a delicious lemon curd ready for your favorite desserts or breakfast treats!
Curious about the versatility of lemon curd? You can use it in tarts, on scones, or even blended into yogurt. It’s a must-try! For more tips on how to make lemon curd perfectly, visit Sally's Baking Addiction.
Nutritional Facts for Lemon Curd
Calories per serving
A generous serving of lemon curd packs about 120 calories. This delicious treat is perfect for adding a zing to your breakfasts or desserts without derailing your diet.
Sugar content
Each serving contains approximately 15 grams of sugar. While it may sound high, remember that lemon curd is often used in moderation, enhancing flavors without overwhelming your palate.
Fat content
You can expect around 9 grams of fat in a serving, primarily from the butter. Using unsalted butter provides control over the saltiness, allowing the bright lemon flavor to shine through. For a bit of extra context, the fat helps create a rich, creamy texture that makes lemon curd so irresistible!
If you're curious about how to make lemon curd with a lighter twist, consider using alternatives or adjusting the sugar and butter content while still achieving that luscious consistency. Enjoy exploring the delicious possibilities! For more on cooking with citrus, check out resources from Healthline or The New York Times Cooking.
FAQs About Lemon Curd
Can I make lemon curd without a double boiler?
Absolutely! If you’re wondering how to make lemon curd without a double boiler, you can create a makeshift version by placing a heatproof bowl on top of a saucepan filled with simmering water. This method gently cooks the lemon curd without direct heat, preventing the eggs from scrambling. Just be sure to keep stirring to achieve that perfect silky texture.
How long does homemade lemon curd last?
Homemade lemon curd can last in the refrigerator for about 10 days. For longer storage, consider freezing it for 3 to 6 months. Just remember to thaw it in the fridge before using! You can find great tips on storing citrus-based recipes at Sally's Baking Addiction.
Can I use bottled lemon juice?
While you can technically use bottled lemon juice, fresh-squeezed lemon juice is highly recommended. Fresh lemons provide a brighter flavor and essential oils from the zest, making your curd truly shine. For more on the benefits of using fresh ingredients, take a look at Food52.
Conclusion on Lemon Curd
Embrace Homemade Goodness
Crafting lemon curd yourself is a rewarding experience that elevates your desserts and breakfast dishes. With simple ingredients and straightforward steps, you can enjoy a fresh, zesty treat that far surpasses store-bought versions. So, gather your supplies and embrace the homemade goodness of this delightful spread! For further inspiration, check out this guide on creative uses for lemon curd.
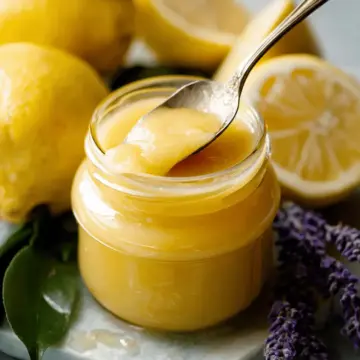
How to Make Lemon Curd
Equipment
- double boiler
- Whisk
- jar
Ingredients
Main Ingredients
- 4 large egg yolks (for thicker lemon curd, see Note on eggs)
- ⅔ cup granulated sugar 134g
- 1 Tablespoon lemon zest (about 1 lemon)
- ⅓ cup fresh lemon juice (about 2–3 lemons)
- ⅛ teaspoon salt
- 6 Tablespoons unsalted butter [softened to room temperature](https://sallysbakingaddiction.com/room-temperature-butter/) and cut into 6 pieces
Instructions
Cooking Instructions
- Fill the bottom pot of your double boiler with 1–2 inches of water. Place on high heat. Once boiling, reduce to low heat to maintain a simmer.
- Place egg yolks, granulated sugar, lemon zest, lemon juice, and salt into the top pot of your double boiler. Whisk until blended, and continue whisking as it cooks for about 10 minutes until thickened.
- Remove from heat and whisk in the sliced butter until melted. Pour into a jar or bowl, covering with plastic wrap to prevent a skin from forming.
- Refrigerate the curd for up to about 10 days.


Leave a Reply