
Introduction to Halloween Cookies
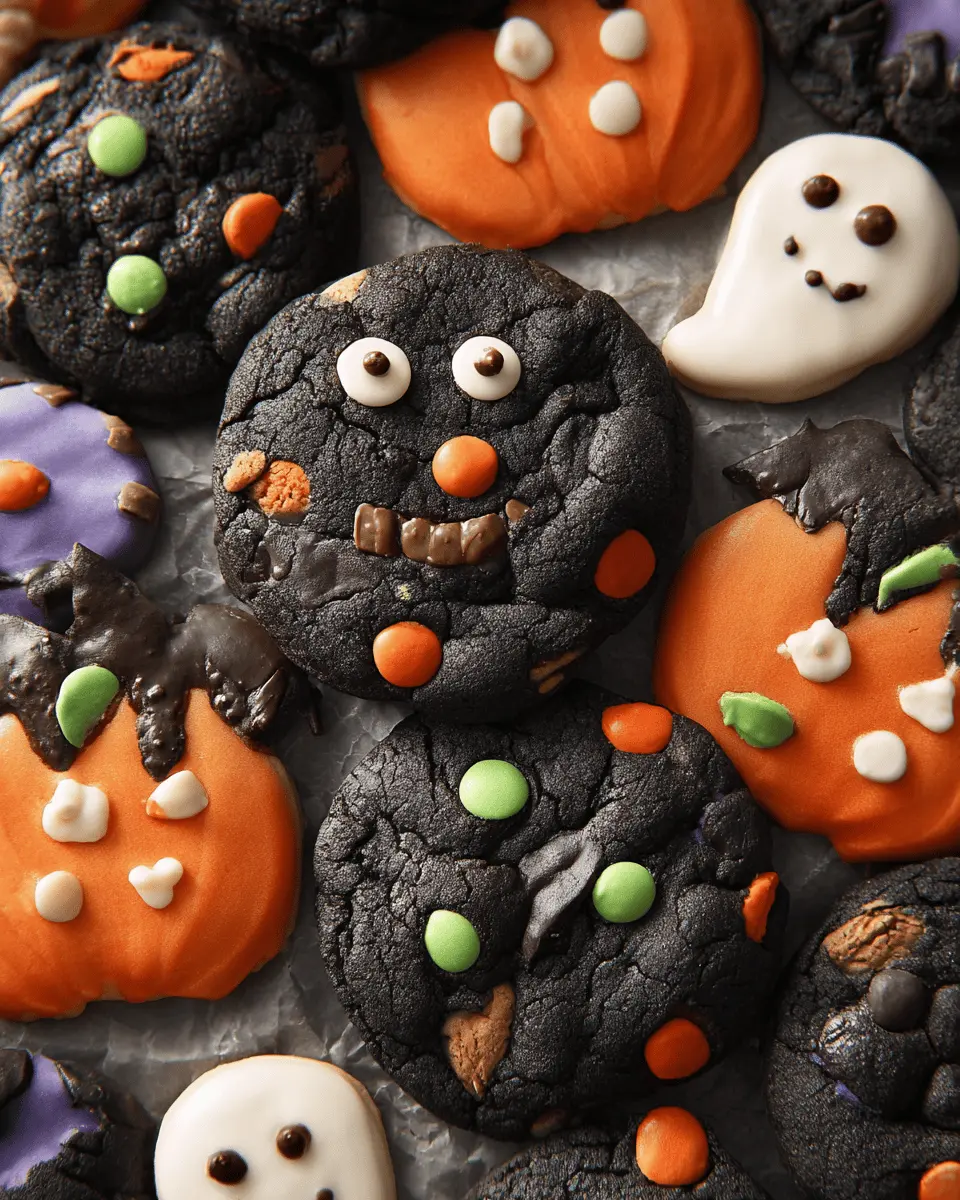
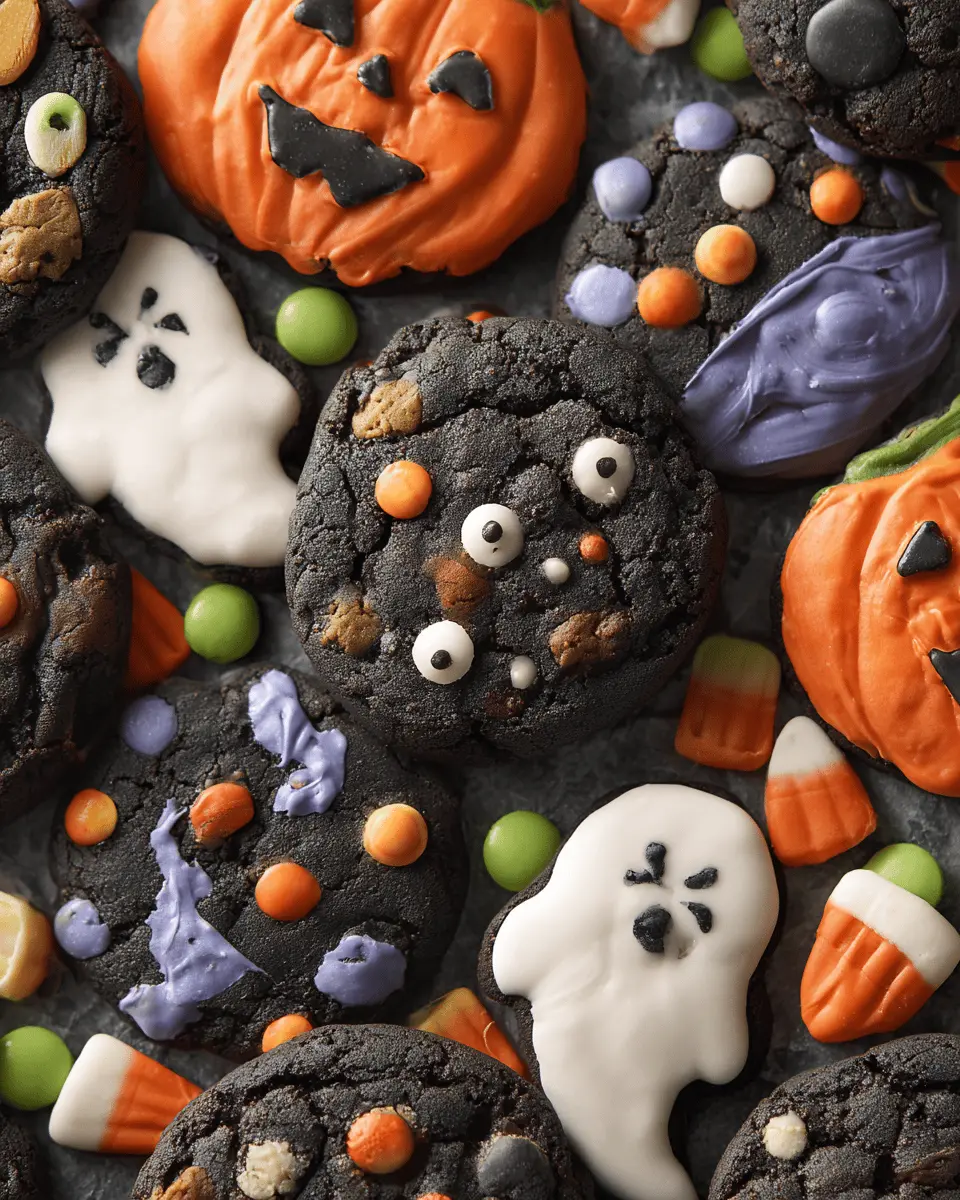
As autumn leaves swirl and the air turns crisp, it's time to embrace the festive spirit of Halloween with a delightful treat: Halloween cookies! These vibrant, eye-catching confections not only satisfy your sweet tooth but also add a playful touch to your holiday celebrations. Imagine cookies adorned with ghoulish designs and colorful candies—perfect for parties, as snack gifts, or simply enjoying with loved ones.
Why are Halloween cookies a must-make? For starters, they are incredibly versatile. You can experiment with flavors and decorations, from chocolate with a spooky twist to traditional sugar cookies bursting with creativity. Plus, baking together can serve as a lovely bonding experience for friends and family—what's better than gathering in the kitchen while conjuring up Halloween magic?
Don't forget to check out this guide featuring tips on cookie decorating to elevate your Halloween game. Whether you’re planning a haunted house party or just want to enjoy a night in, these festive treats will surely bring smiles and laughter. With simple recipes, everyone can join in on the fun, creating unforgettable memories this spooky season. Get ready to whip up some magic!
Essential Ingredients for Spooky Delights
When it comes to baking Halloween cookies, the right ingredients can make all the difference in achieving that deliciously spooky flavor. Here’s what you’ll need to whip up some delightfully haunting treats:
- Butter: ½ cup of unsalted butter is essential for a rich taste and soft texture. Let it sit at cool room temperature for easy mixing.
- Sugars: Combine ½ cup granulated sugar with ¼ cup brown sugar. This duo creates a perfectly sweet balance and adds moisture to your cookies.
- Egg: Don’t forget one room temperature egg! It helps bind your dough beautifully.
- Flour & Cocoa: Use 1 cup of all-purpose flour and ½ cup of sifted black cocoa powder for those classic Halloween vibes.
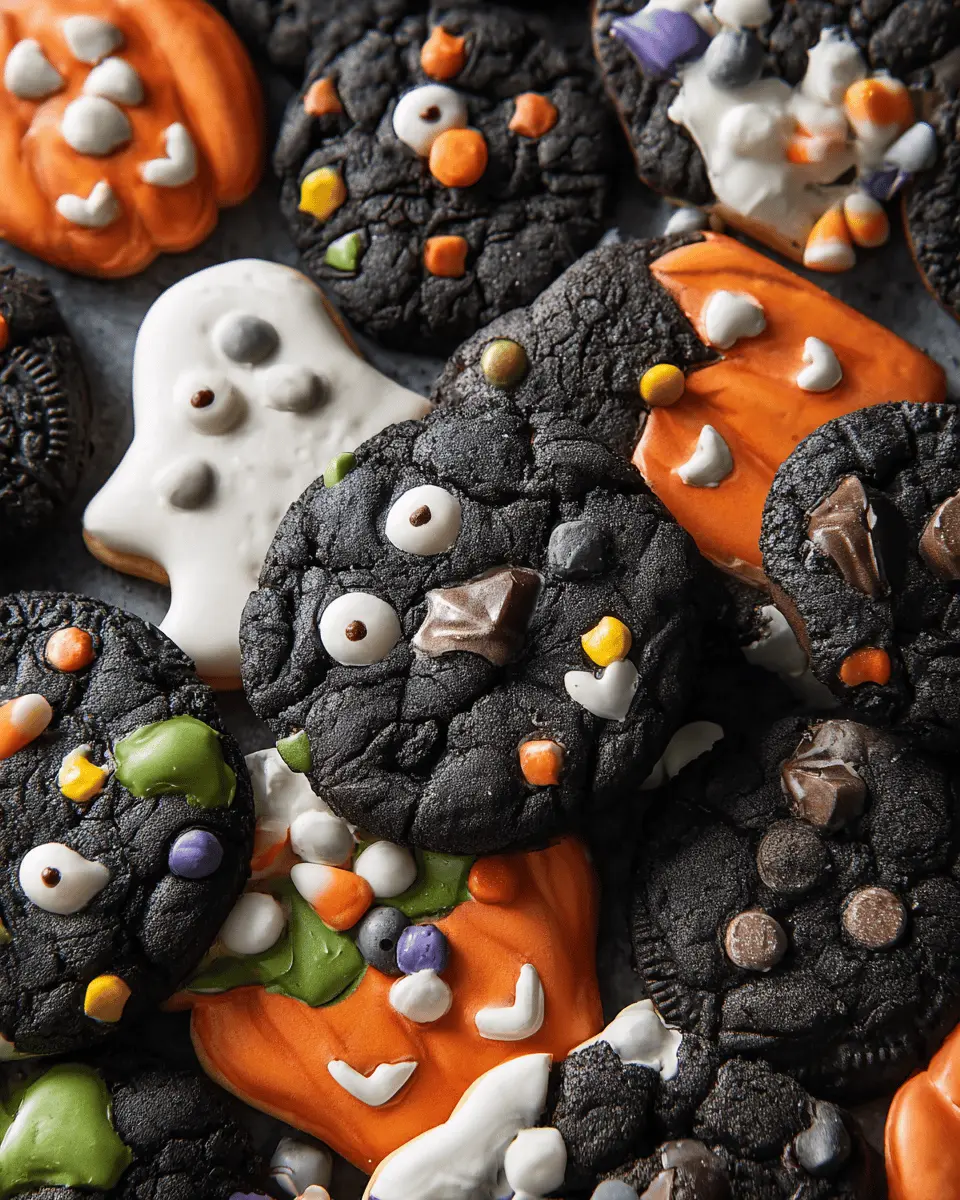
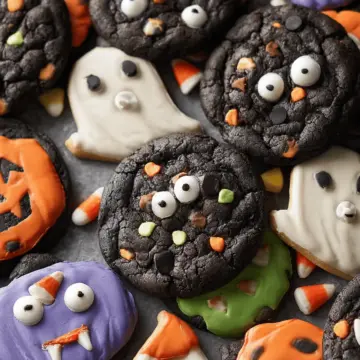
- Add-ins: White chocolate chips and Halloween M&Ms will bring sweetness and a festive pop of color. And, of course, edible candy eyeballs for that final spooky touch!
For more detailed instructions on crafting these Halloween cookies, check out our full recipe above!
Preparing Halloween Cookies
Making your own Halloween Cookies is a delightful way to celebrate the season, and it can also be a fun activity to do with friends or family. Let's dive into the steps to create these spooky yet scrumptious treats!
Gather Your Ingredients
First things first, gather all your ingredients to ensure a smooth baking experience. Here’s what you’ll need:
- ½ cup unsalted butter (at cool room temperature)
- ½ cup granulated sugar
- ¼ cup brown sugar
- 1 teaspoon vanilla extract
- 1 egg (at room temperature)
- 1 cup all-purpose flour
- ½ cup black cocoa powder (or Dutch-process), sifted
- 1 tablespoon cornstarch
- 1 teaspoon fine sea salt
- ½ teaspoon baking soda
- ¼ teaspoon baking powder
- ½ cup white chocolate chips (plus more for garnish)
- 1 cup Halloween M&Ms (plus more for garnish)
- Edible candy eyeballs for garnish
Once you have everything at hand, it’s time to start baking!
Creaming Butter and Sugars
In the bowl of a stand mixer, add your cool room temperature butter along with both sugars. Beat them together on medium speed until the mixture is light and fluffy, which should take about 3 minutes. This step is crucial because properly creamed butter and sugar create a stable base for your Halloween Cookies. Don’t forget to scrape down the sides of the bowl to ensure no ingredients are left unincorporated. After this, add your vanilla extract and egg, mixing well until fully combined.
Mixing Dry Ingredients
In a separate bowl, whisk together the dry ingredients: all-purpose flour, black cocoa powder, cornstarch, sea salt, baking soda, and baking powder. You want to ensure these ingredients are evenly mixed to guarantee a consistent flavor and texture throughout the cookies. Gradually add these dry ingredients to the wet mixture, mixing until a slightly sticky dough forms. This is where the magic begins!
Forming the Dough
Once your dough is ready, it's time for some creative fun! Using a large spring-loaded cookie scoop, drop 3-tablespoon-sized balls of dough onto your prepared baking sheets. Make sure to space them at least 2 inches apart. It’s a good idea to dot the tops with extra white chocolate chips, M&Ms, and even some candy eyeballs; this adds a festive touch that makes your Halloween Cookies stand out.
Baking the Halloween Cookies to Perfection
Now, preheat your oven to 350 degrees F! Once it’s warmed up, pop the baking sheets in and bake your cookies for about 12 minutes. You'll want them puffy but still soft in the center—be careful not to overbake them. After baking, allow the cookies to cool on the baking sheet for 5 minutes before transferring them to a wire rack. This helps them firm up just enough for an irresistible chewy texture.
And there you have it! With these steps, you’ll create delicious Halloween Cookies that your friends will love. Whether you’re hosting a party or simply sharing with coworkers, these treats are sure to impress!
Variations on Halloween Cookies
Gluten-Free Options for Halloween Cookies
For those seeking gluten-free alternatives, don’t worry—you can still enjoy delicious Halloween cookies! Simply substitute the all-purpose flour with your favorite gluten-free flour blend, ensuring it contains xanthan gum for the best texture. Additionally, make sure all the other ingredients, including chocolate chips and M&Ms, are gluten-free by checking the labels. You’ll find that these tweaks maintain the scrumptious flavor and festive spirit of your Halloween baking!
Vegan Halloween Cookies Recipe
If you’re looking to make vegan Halloween cookies, try swapping the egg for a flaxseed meal (1 tablespoon of ground flaxseed mixed with 2.5 tablespoons of water, allowed to sit until it thickens) and the butter for a plant-based alternative. This simple change makes for a delightful treat that's just as festive and scrumptious, allowing everyone to partake in the Halloween festivities without compromise. Check out this guide on baking substitutes for more ideas!
Baking Tips for Halloween Cookies
Common Mistakes to Avoid
When whipping up your Halloween cookies, the fun shouldn’t come at the cost of quality. Here are some common pitfalls to steer clear of:
- Overmixed Dough: Mixing too long can lead to tough cookies. Just blend until combined!
- Incorrect Ingredient Temperature: If your butter isn’t at cool room temperature, you'll struggle to achieve that fluffy texture. Aim for that sweet spot!
- Overbaking: Pull your cookies when they are puffy but still soft. They’ll firm up while cooling, ensuring they’re deliciously chewy.
- Ignoring Measurements: Baking is a science! Always measure ingredients accurately for the best results. A good scale can be a game changer.
By avoiding these mistakes, you can make delightful Halloween cookies that everyone will love!
Serving Suggestions for Halloween Cookies
Creative Ways to Present Your Cookies
Elevate your Halloween Cookies with some fun and creative presentations that will leave your guests raving. Here are a few ideas:
-
Spooky Cookie Platters: Arrange your cookies on a themed platter decorated with faux spider webs or mini pumpkins to enhance the festive vibe.
-
Mason Jar Gifts: Layer cookies in a mason jar for a delightful Halloween gift. Add a label with a cute message like “Boo-tiful Treats!” for an extra personal touch.
-
Cookie Sticks: Transform your cookies into cookie pops! Insert a lollipop stick into the base of each cookie before baking. This makes them easy to grab and perfect for parties.
-
Themed Displays: Use various Halloween décor items like skulls or skeletons to showcase your Halloween Cookies. Surround them with treats like candy corn or gummy worms for a fun touch.
These simple yet engaging presentations will make your cookies the stars of the Halloween season!
Time Breakdown for Halloween Cookies
Preparation Time
Getting everything ready for your Halloween Cookies will take about 15 minutes. This includes gathering ingredients, preheating your oven, and mixing the dough.
Baking Time
The baking process itself is relatively quick, clocking in at around 12 minutes per batch.
Total Time
All together, you’re looking at roughly 30 minutes to whip up these fun treats from start to finish!
Get ready to impress your friends and family with these delightful cookies that are perfect for celebrating Halloween! If you're interested in tips for storing and decorating, just keep reading!
Nutritional Facts for Halloween Cookies
When indulging in Halloween Cookies, understanding their nutritional content can help you enjoy them guilt-free. Here's a quick glance at what you can expect:
Calories per Cookie
Each cookie contains about 150 calories. While it’s easy to enjoy more than one, keeping track helps maintain a balanced intake during festivities.
Sugar Content
These delightful cookies pack approximately 10 grams of sugar each. Sweet enough to satisfy your cravings without overwhelming your palate!
Additional Nutritional Information
If you're curious about other engaging facts, each cookie contains about 2 grams of protein and 7 grams of fat. The use of ingredients like black cocoa powder adds antioxidants, bringing a touch of nutrition to your sweet treat! Check out Harvard's Health Blog for more insights on the benefits of cocoa.
Enjoy your Halloween baking while staying informed about what you’re treating yourself to!
FAQs about Halloween Cookies
Can I freeze Halloween Cookies?
Absolutely! Halloween Cookies freeze beautifully, making them perfect for preparation in advance. After baking and allowing them to cool completely, simply place them in an airtight container or a freezer bag, separating layers with parchment paper to avoid sticking. They can be stored in the freezer for up to three months. When you’re ready to enjoy them, thaw them in the refrigerator or at room temperature.
How can I decorate my Halloween Cookies?
The fun doesn't stop at baking! You can turn your Halloween Cookies into spooky artwork. Use royal icing to pipe cute or scary designs, or sprinkle them with vibrant edible glitter. For a simple twist, add fondant shapes like ghosts or pumpkins, and don’t forget those adorable edible candy eyeballs. For some creative inspiration, check out resources like Wilton for tips and tricks!
What's the best way to store cookies?
To keep your Halloween Cookies fresh and chewy, store them in an airtight container at room temperature. You can also add a slice of bread in the container to maintain moisture! For a longer shelf life, consider a cooler pantry or cupboard, away from direct sunlight. If you're storing frosted cookies, ensure they're fully set before enclosing them to prevent smudging.
Conclusion on Halloween Cookies
In conclusion, Halloween cookies are more than just a treat; they're a delightful way to celebrate the season with friends and family. Whether you're hosting a party or sharing with neighbors, these festive cookies are sure to bring smiles. Enjoy the joy of baking and get creative with your decorations!
Halloween Cookies: Easy and Fun Recipes for Spooky Treats
Equipment
- stand mixer
- baking sheets
- parchment paper
- Large spring-loaded cookie scoop
Ingredients
- ½ cup unsalted butter at cool room temperature
- ½ cup granulated sugar
- ¼ cup brown sugar
- 1 teaspoon vanilla extract
- 1 cup all-purpose flour
- ½ cup black cocoa powder or Dutch-process, sifted
- 1 tablespoon cornstarch
- 1 teaspoon fine sea salt
- ½ teaspoon baking soda
- ¼ teaspoon baking powder
- ½ cup white chocolate chips plus more for garnish
- 1 cup Halloween M&Ms plus more for garnish
- Edible candy eyeballs for garnish
Instructions
- Preheat oven to 350 degrees F. Line baking sheets with parchment paper.
- In the bowl of a stand mixer fitted with the paddle attachment, beat the butter and sugars together on medium speed until light and fluffy, about 3 minutes. Scrape the bowl down before adding in the vanilla extract and egg, beating well to combine.
- In a separate bowl, whisk together the flour, cocoa, cornstarch, salt, baking soda, and baking powder. Gradually add in the dry ingredients to the wet ingredients and beat until a slightly sticky dough forms. Fold in the white chocolate chips and M&Ms with a rubber spatula.
- Using a large spring-loaded cookie scoop, drop 3-tablespoon sized balls of dough onto the prepared baking sheets, spacing them at least 2 inches apart. Dot the balls of cookie dough with extra chips, M&Ms, and candy eyeballs.
- Bake for about 12 minutes, until puffy but still soft, being careful not to overbake.
- Allow to cool on baking sheet for 5 minutes before removing to a wire rack to cool completely.
Leave a Reply