
Introduction to Homemade Apple Cider Vinegar
If you’ve ever wondered how to make homemade apple cider vinegar, you’re in for a delightful and rewarding experience. Making your own vinegar not only allows you to control the ingredients but also provides a fun opportunity to reduce kitchen waste by utilizing apple scraps. Did you know that apple cider vinegar is rich in beneficial acids which can aid digestion and even enhance gut health? Plus, there’s something quite satisfying about creating something from scratch!
Why make your own apple cider vinegar?
Many people are turning to DIY vinegar not just for its taste but also for its health benefits. Store-bought versions can often contain additives and preservatives, while homemade versions let you harness the freshest ingredients—scavenged from your favorite local market or even from your own backyard! By using real apples, you can enjoy a more potent flavor and even adjust the sweetness to match your palate.
Plus, the fermentation process itself is fascinating. As you embark on your journey, you'll witness the transformation of simple apples into a complex and flavorful vinegar over the course of a few weeks. For a detailed guide, check out our full recipe below and let’s get fermenting!
Ingredients for Homemade Apple Cider Vinegar
Making your own apple cider vinegar at home is not just rewarding but also a delightful way to add a personal touch to your cooking. Let’s dive into the essential and optional ingredients that will bring your vinegar to life.
Essential ingredients for the perfect apple cider vinegar
- Apple Chunks or Scraps: Gather enough diced apple chunks or apple scraps (skins and cores) to fill half of your fermenting vessel. It's a fantastic way to minimize waste while maximizing flavor.
- Filtered Water: Use lukewarm filtered water to help dissolve the sugar. You want it to be fresh and free from impurities.
- Sugar: The sugar is crucial for fermentation. Follow the ratios of 1 tablespoon of sugar per cup of water, or 1 cup of sugar per gallon of water.
Optional ingredients for extra flavor
- Organic Apple Cider Vinegar: A splash of store-bought, unpasteurized apple cider vinegar can kickstart the fermentation process.
- Spices: Feel free to experiment with spices like cinnamon, cloves, or even ginger for a unique flavor profile.
For more tips on the health benefits of apple cider vinegar, check out Healthline’s overview. Understanding how to make homemade apple cider vinegar sets the stage for crafting something truly special in your kitchen!
Step-by-step Preparation for Homemade Apple Cider Vinegar
Making your own apple cider vinegar at home is not only rewarding but also a fun way to explore fermentation. By following these simple steps, you’ll be on your way to creating a tangy, delicious condiment that elevates various dishes. Let’s dive into how to make homemade apple cider vinegar!
Gather Your Apples and Prepare the Fermenting Vessel
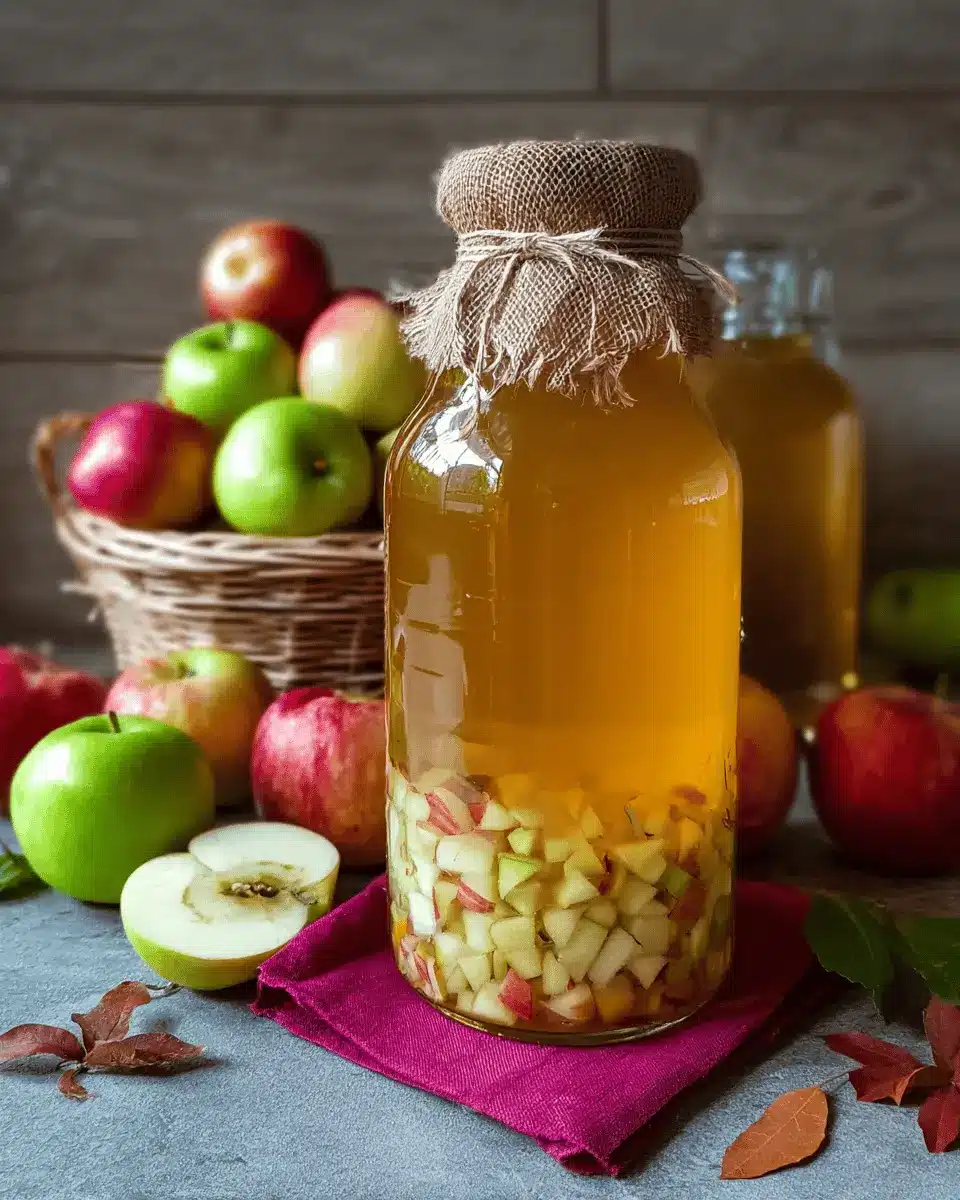
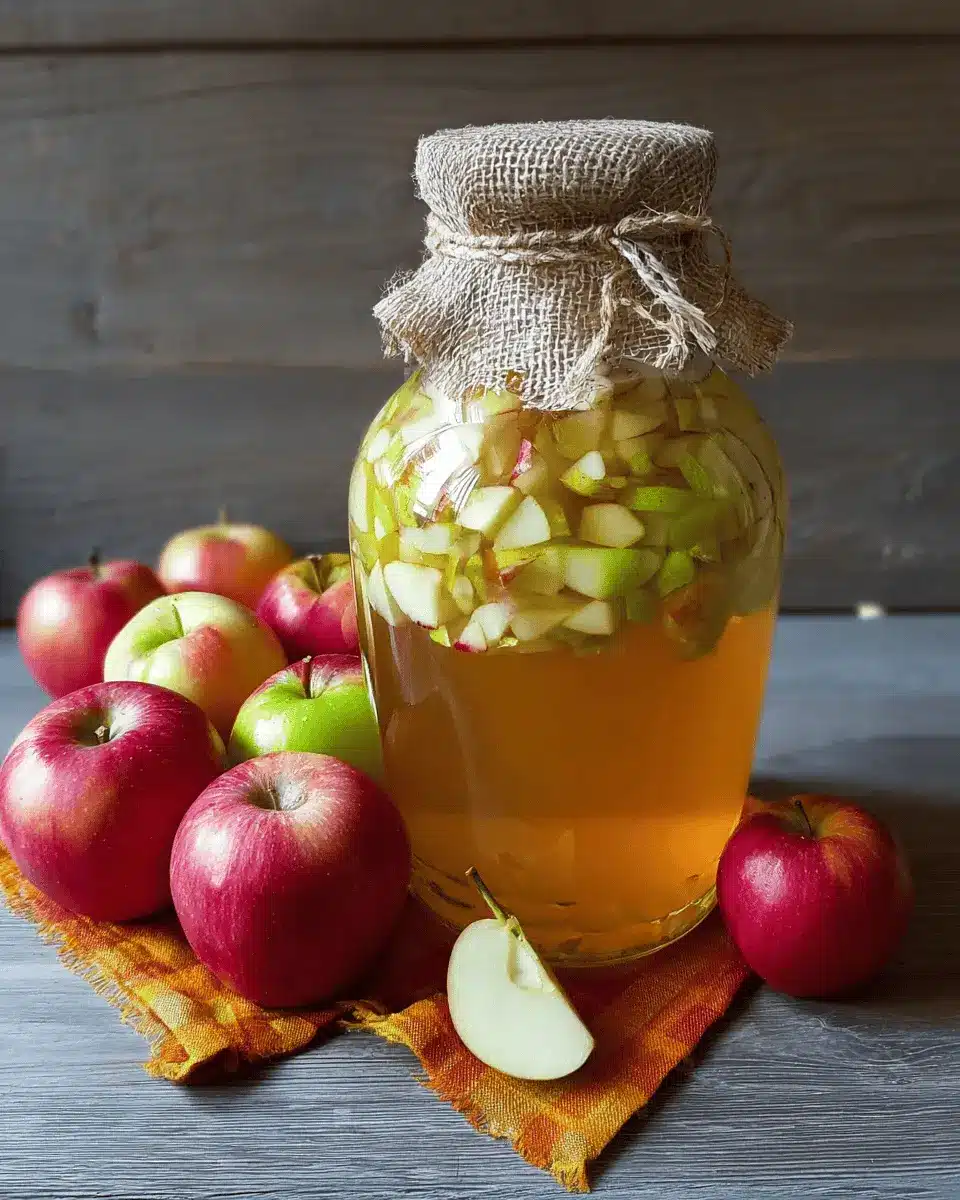
Start by choosing your apples. You can use diced apple chunks or even apple scraps like skins and cores—perfect for reducing waste! Make sure to fill your chosen fermenting vessel (like a quart jar or a half-gallon jar) halfway with these apple pieces. A tip? Washing the apples thoroughly ensures you remove any unwanted residue.
Mix the Apples and Water
Next, pour lukewarm filtered water over the apples until the jar is nearly full. Just remember to measure how much water you add, as this will be essential for the next step. This part of the process helps extract flavors and nutrients from the apples.
Add Sugar to Initiate Fermentation
For the fermentation process, adding sugar is key. Use a ratio of 1 tablespoon of sugar for every cup of filtered water you added. Alternatively, if you have a larger batch, 1 cup of sugar per gallon of water will work. This step is essential as it fuels the fermentation.
Optional Inoculation with Store-Bought Vinegar
To kickstart fermentation, consider adding a splash of finished organic apple cider vinegar (like one you picked up from the store). This isn't a must but can help by introducing beneficial bacteria to the mixture.
Cover and Store for Initial Fermentation
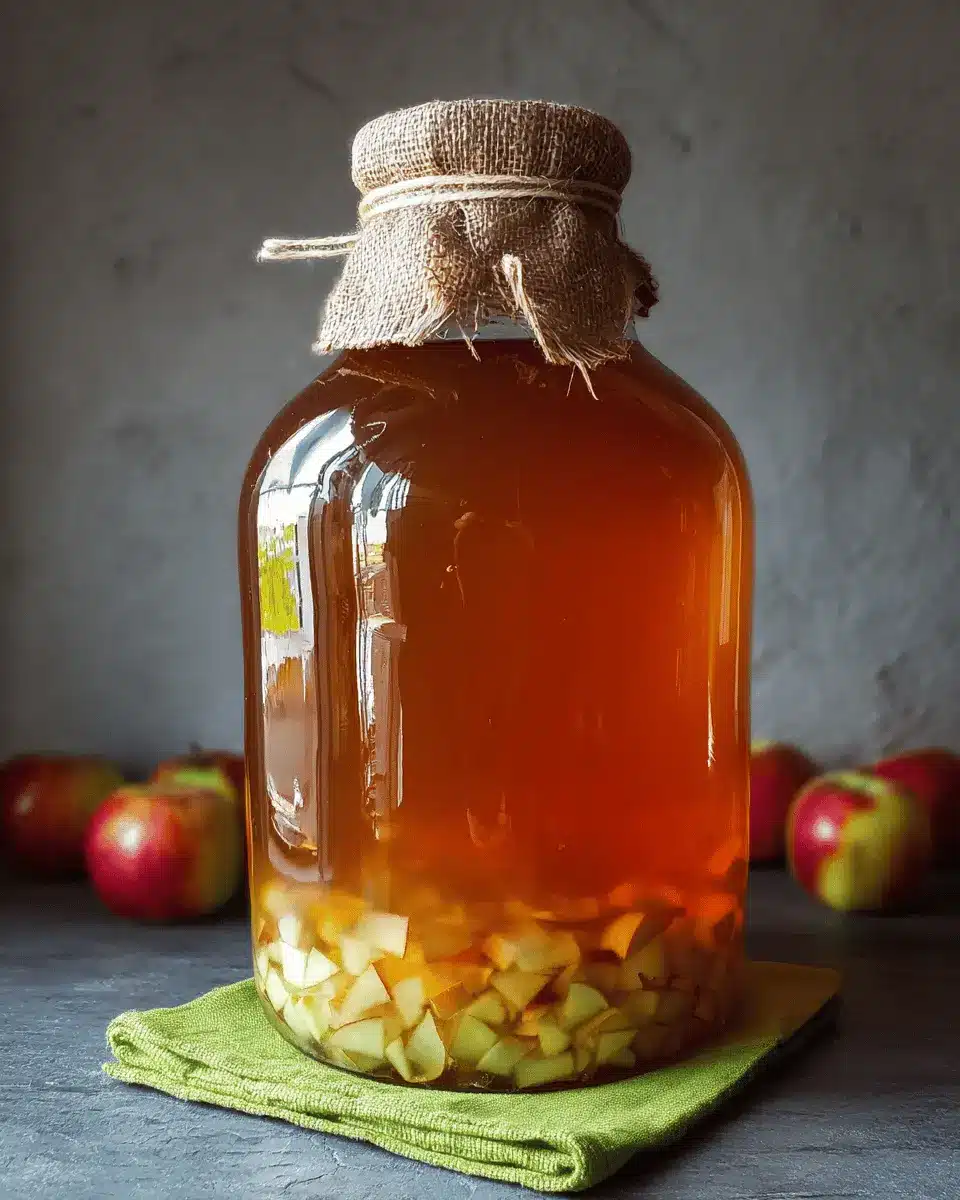
After mixing everything, cover the jar with a breathable material—like cheesecloth or a clean kitchen towel. Put it in a dark spot at a stable temperature of about 70 to 75 degrees F. Make sure to stir it daily to prevent mold from forming. You can even place a dark towel over the container for extra shade.
Strain and Reserve the Liquid After Two Weeks
After about two weeks, it’s time to check your concoction. Strain the mixture to reserve the liquid, pouring it into a new container. The apple scraps can be composted, as they have done their job.
Long-term Fermentation Process
Now that you have your liquid, it goes back into a covered container for the long haul. Store it out of the way, maintaining the dark conditions. It’s okay if this environment is a bit cooler—just don’t put it in the fridge yet. This stage can last anywhere from one to three months, depending on how strong and tangy you like it.
Bottling Your Homemade Vinegar
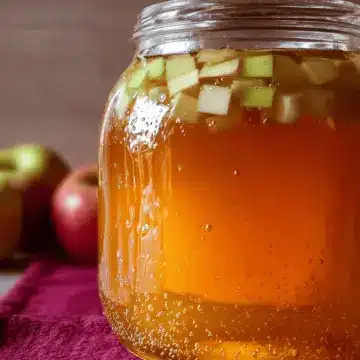
Finally, once your vinegar reaches the desired flavor, it's time to bottle it! Use containers with lids or swing-top bottles for storage. You can keep your homemade apple cider vinegar at room temperature or in the fridge. Properly fermented vinegar can last over a year, as long as there’s no visible mold or strange flavors.
By following these steps, you'll be well on your way to enjoying your very own, delicious homemade apple cider vinegar. Happy fermenting!
Variations on Homemade Apple Cider Vinegar
Adding Herbs and Spices for Unique Flavors
Once you’ve nailed how to make homemade apple cider vinegar, don’t hesitate to elevate it with your favorite herbs and spices. A few sprigs of fresh rosemary or thyme can add an earthy note, while a dash of cinnamon or cloves infuses warmth and comfort. Consider experimenting with a chili pepper for a surprising kick! This not only enhances the flavor but also customizes your vinegar for salads, marinades, and dressings.
Experimenting with Different Apple Varieties
You might be surprised how much the choice of apples can impact your vinegar’s flavor profile. Sweet varieties like Fuji and Honeycrisp produce a milder vinegar, while tart apples like Granny Smith impart a delightful zing. Mixing different types can yield complex flavors, so feel free to blend! And if you’re curious about apple varieties, check out resources like the U.S. Apple Association for ideas!
Cooking Tips and Notes for Homemade Apple Cider Vinegar
Best practices for fermentation success
To master how to make homemade apple cider vinegar, patience is key. Ensure you're using non-chlorinated, filtered water and maintain a consistent temperature around 70-75°F. A breathable cover, like a cheesecloth or coffee filter, allows air circulation while preventing unwanted pests. Stir your mixture daily to avoid mold growth and encourage even fermentation.
Troubleshooting common fermentation issues
If your vinegar lacks tartness after a month, it may need more time. Check for a foul smell or unusual colors; these could indicate spoilage. Should you encounter mold, simply skim it off—your vinegar is likely still good. For further insights, resources like The Kitchn can offer additional guidance on fermentation issues. Enjoy the process and the delicious results!
Serving Suggestions for Homemade Apple Cider Vinegar
Incorporating into Dressings and Marinades
Homemade apple cider vinegar is a delightful addition to salads and marinades. Try mixing it with olive oil, honey, and your favorite herbs to create a zesty vinaigrette. You can also use it as a marinade for chicken, turkey bacon, or beef to enhance flavor—just a couple of tablespoons can transform your dishes!
Using Apple Cider Vinegar in Health Tonics
Consider enjoying apple cider vinegar in health tonics, a natural trend that many swear by. Mix a tablespoon with warm water and a dash of honey for a refreshing drink, perfect for digestion. Research from Healthline suggests that this practice may help boost your immune system and improve gut health. Remember to consult with your healthcare provider for personalized advice!
Dive into more ways to make homemade apple cider vinegar a staple in your kitchen, and elevate your culinary adventures!
Time Breakdown for Homemade Apple Cider Vinegar
Preparation time
Making your own apple cider vinegar starts with about 20-30 minutes of preparation. This includes washing and chopping your apples or gathering scraps.
Fermentation time
Patience is key when you learn how to make homemade apple cider vinegar! You’ll need at least two weeks for the initial fermentation, plus an additional one to three months for the final stage to achieve the perfect tang.
Total time investment
In total, you can expect to invest about 2-3 months from start to finish. But remember, much of that time simply requires checking in on your fermenting creation every now and then. The wait will be worth it when you savor that rich, homemade flavor!
For tips on fermentation and maintaining your vinegar, check out resources from The Spruce Eats and Nutritional Therapy Association for more insights.
Nutritional Facts for Homemade Apple Cider Vinegar
When you learn how to make homemade apple cider vinegar, you will find it not only enhances your culinary creations but also brings some interesting nutritional elements to your table.
Calories
Homemade apple cider vinegar is very low in calories, typically containing around 3 calories per tablespoon. This makes it an excellent addition to your diet without adding unwanted energy.
Acetic Acid Content
With a typical acetic acid concentration of 5-6%, apple cider vinegar has powerful properties that can aid digestion and support metabolic health.
Health Benefits
People tout various health benefits, from improved digestion to potential weight management. Some studies suggest that acetic acid may help lower blood sugar levels, making it a hot topic in wellness circles—though more research is always appreciated.
For those looking to enhance their wellness journey, homemade apple cider vinegar is a wonderful, versatile addition.
FAQs about Homemade Apple Cider Vinegar
How long does homemade apple cider vinegar last?
Homemade apple cider vinegar can last over a year when stored properly. Ensure it remains in a cool, dark place, away from direct sunlight. If you notice any signs of mold or off-putting smells, it’s best to err on the safe side and dispose of it. As long as it looks and smells good, you can enjoy it for cooking, salad dressings, and other uses.
Can I reuse the apple scraps for another batch?
Unfortunately, reusing apple scraps for a second batch isn't ideal. The flavor and beneficial bacteria diminish significantly after the first fermentation. It's best to compost any leftover scraps or use them in other creative ways, such as making apple scrap jelly!
What can I do with leftover apple scraps?
Leftover apple scraps can be put to great use! Consider these options:
- Composting: They add nutrients back to your garden.
- Stock: Use them to flavor vegetable or chicken stock.
- Smoothies: Toss them into a blender for added fiber and flavor.
- Homemade apple chips: Bake thinly sliced scraps for a tasty snack.
For more details on utilizing leftovers creatively, check out this resource on cooking with scraps.
By incorporating your apple scraps thoughtfully, you’re not just making homemade apple cider vinegar but also minimizing waste and maximizing flavor!
Conclusion on Homemade Apple Cider Vinegar
Creating your own apple cider vinegar at home offers the chance to customize flavors and ensures you know exactly what goes into it. Unlike store-bought versions, homemade apple cider vinegar is typically more vibrant and packed with nutrients. Plus, it’s a rewarding project to undertake with friends or on your own!
The Benefits of Homemade Versus Store-Bought Apple Cider Vinegar
Opting to learn how to make homemade apple cider vinegar comes with a plethora of advantages over its commercial counterparts. Here are a few key benefits:
-
Quality Control: By making your own, you can choose organic apples and avoid unwanted additives or preservatives found in many store-bought options.
-
Cost-Effective: Homemade apple cider vinegar can save you money in the long run, especially if you regularly use it for cooking, cleaning, or wellness.
-
Flavor Variety: You have the freedom to experiment with flavors—try adding spices or herbs during fermentation for a unique twist.
-
Personal Satisfaction: There’s something special about creating something from scratch. Watching the fermentation process and enjoying the final product is gratifying!
Overall, diving into the world of homemade apple cider vinegar not only enhances your culinary experience but is also a fun activity to enhance your kitchen skills. So gather those apple scraps and get started today! For more tips on fermentation, check out Fermenting at Home or Real Food Whole Life for inspiration.
How to Make Homemade Apple Cider Vinegar
Equipment
- Quart Jar
- Half-Gallon Jar
- 1 Gallon Crock
Ingredients
- ½ jar Diced apple chunks or apple scraps Fill half of your fermenting vessel
- 1 tablespoon Sugar Per 1 cup filtered water
- 1 cup Sugar Per 1 gallon of filtered water
Instructions
- Wash and chop the apples into chunks or gather collected apple scraps. Add them to your jar until filled about halfway.
- Pour lukewarm filtered water over the apples into the container until it is almost full. Measure the total amount of water added.
- Stir in sugar in ratios of 1 tablespoon of sugar per cup of water added, or for larger batches, 1 cup of sugar per gallon of water added.
- Optional: Add a splash of finished organic apple cider vinegar to inoculate the culture and encourage fermenting.
- Stir combined ingredients until thoroughly mixed, and cover with breathable material.
- Store in a dark location around 70 to 75 degrees F for two weeks to ferment, stirring every day to prevent mold.
- After two weeks, strain and reserve the liquid into a similar-sized container and cover again. Compost the spent fruit.
- Move the covered container of liquid to a location that is out of the way to continue long-term fermentation. Maintain darkness.
- After one month, sample the vinegar to see if it is finished fermenting and tart to your liking. If needed, continue to ferment for a total of two to three months.
- Once fermented to your desired flavor, transfer the apple cider vinegar into bottles with lids. Store at room temperature or in the refrigerator.
- Properly fermented apple cider vinegar should stay good for over a year, as long as it does not have visible mold or a strong unusual flavor.


Leave a Reply