
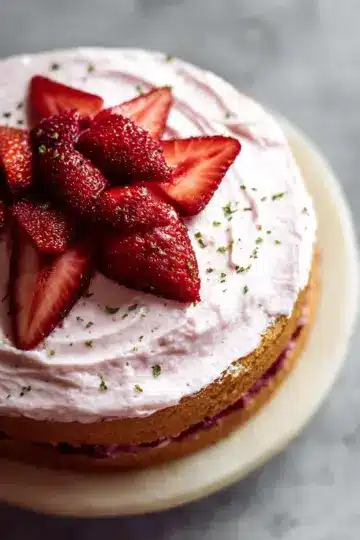
Introduction to Watermelon Mochi
Have you ever craved a treat that perfectly combines the flavors of summer with a unique chewy texture? Watermelon mochi is here to change the game for your homemade snacks. This delightful dessert not only captures the essence of juicy watermelon but also offers a fun twist on a traditional Japanese treat. The vibrant color and playful texture make it an ideal option for impressing your friends or adding a sweet touch to your next gathering.
So, why is watermelon mochi a game changer for homemade treats? First, it’s surprisingly easy to make with just a handful of ingredients, making it perfect for novice cooks and culinary aficionados alike. With a base of glutinous rice flour, sugar, and the lusciousness of fresh watermelon juice, each bite is a juicy experience that’s unlike anything else.
The creative potential is endless, too! You can customize the filling, considering options like fresh fruits or even ice cream, as noted by experts at Serious Eats. What’s more, watermelon mochi is perfect for warm weather gatherings, providing a refreshing way to cool down. So why settle for ordinary desserts when you can craft something extraordinary from your own kitchen?
Ready to dive into the recipe? Let’s make some delicious watermelon mochi!
Ingredients for Watermelon Mochi
Essential Ingredients You'll Need
Making watermelon mochi is much easier than you might think! Here are the must-have ingredients to create this delicious treat:
- 200g Glutinous rice flour (about 1 ½ cups)
- 65g Granulated sugar (roughly ⅓ cup)
- 40g Cornstarch (approximately ⅓ cup)
- 240ml Watermelon juice (about 1 cup, strained for smoothness)
- 1 ½ tablespoon Vegetable oil
These core ingredients combine to give your mochi that delightful chewy texture and refreshing watermelon flavor.
Optional Add-ins for Extra Flavor
Want to take your watermelon mochi to the next level? Here are some fun add-ins you can consider:
- Fresh mint for a burst of freshness
- Lime zest to enhance the sweetness
- Coconut milk instead of some of the watermelon juice for creaminess
- Matcha powder for an earthy twist and beautiful color
These optional ingredients can elevate your mochi, offering a touch of creativity tailored to your taste! Feel free to mix and match, and don’t hesitate to experiment.
Step-by-Step Preparation of Watermelon Mochi
Creating your own watermelon mochi is a fun and delicious endeavor that anyone can tackle. Let's break it down step-by-step to help you produce this delightful treat right from your kitchen!
Make Your Own Watermelon Juice
To kick off your mochi-making journey, you'll need to create fresh watermelon juice. Simply take the flesh of a ripe watermelon and toss it into a blender. Blitz until it reaches a smooth consistency. Remember to strain it through a fine mesh sieve to remove any pulp—this helps create a silky smooth texture in your mochi. Fresh juice adds not only authentic flavor but also lovely pink hues!
Combine Dry Ingredients
Grab your mixing bowl and combine the dry ingredients for your watermelon mochi. Mix together:
- 200g glutinous rice flour
- 65g granulated sugar
- 40g cornstarch
Whisk these together until they are evenly blended. This step is crucial because it ensures a consistent texture throughout your mochi.
Mix in the Wet Ingredients
Now it’s time to bring in the wet ingredients. Slowly pour in your freshly made watermelon juice (240 ml) and 1.5 tablespoons of vegetable oil into the dry mixture. Use a whisk to combine everything until you achieve a smooth blend. This stage is where the vibrant pink color and sweet watermelon flavor start to come together.
Cook the Mochi Mixture
Heat a deep frypan or saucepan over medium heat, and pour in your mochi mixture. Keep stirring consistently for about 5 to 8 minutes. You'll notice the mixture thickening and morphing into a lovely dark pink, translucent color. It should be very sticky to the touch—this is exactly what you want, as this texture is essential for perfect mochi.
Prepare the Mold
While your mixture is cooking, you can prepare your mold. Take a 12cm x 12cm square mold and line it with parchment paper. If you don’t have that exact size, any small rectangular container will do! A lined mold ensures easy removal later on.
Cool and Shape the Mochi
Once cooked, pour the warm mochi into your prepared mold. Using a spatula, gently press it down to flatten the surface. This helps ensure even thickness. Now comes the hard part—let it cool in the refrigerator for about 1 to 2 hours, or until it’s slightly firm. This cooling process allows it to set properly.
Dust with Cornstarch for Easy Handling
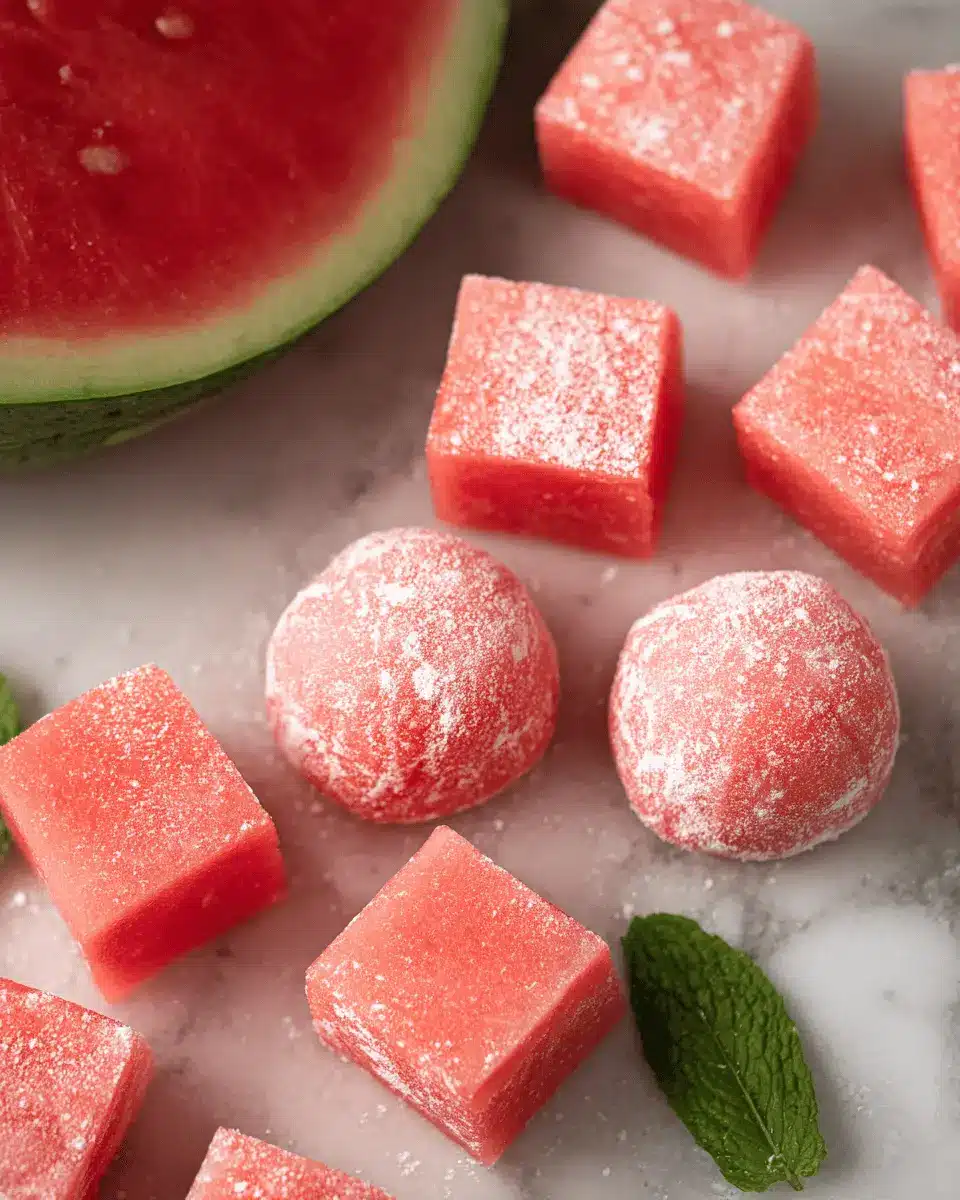
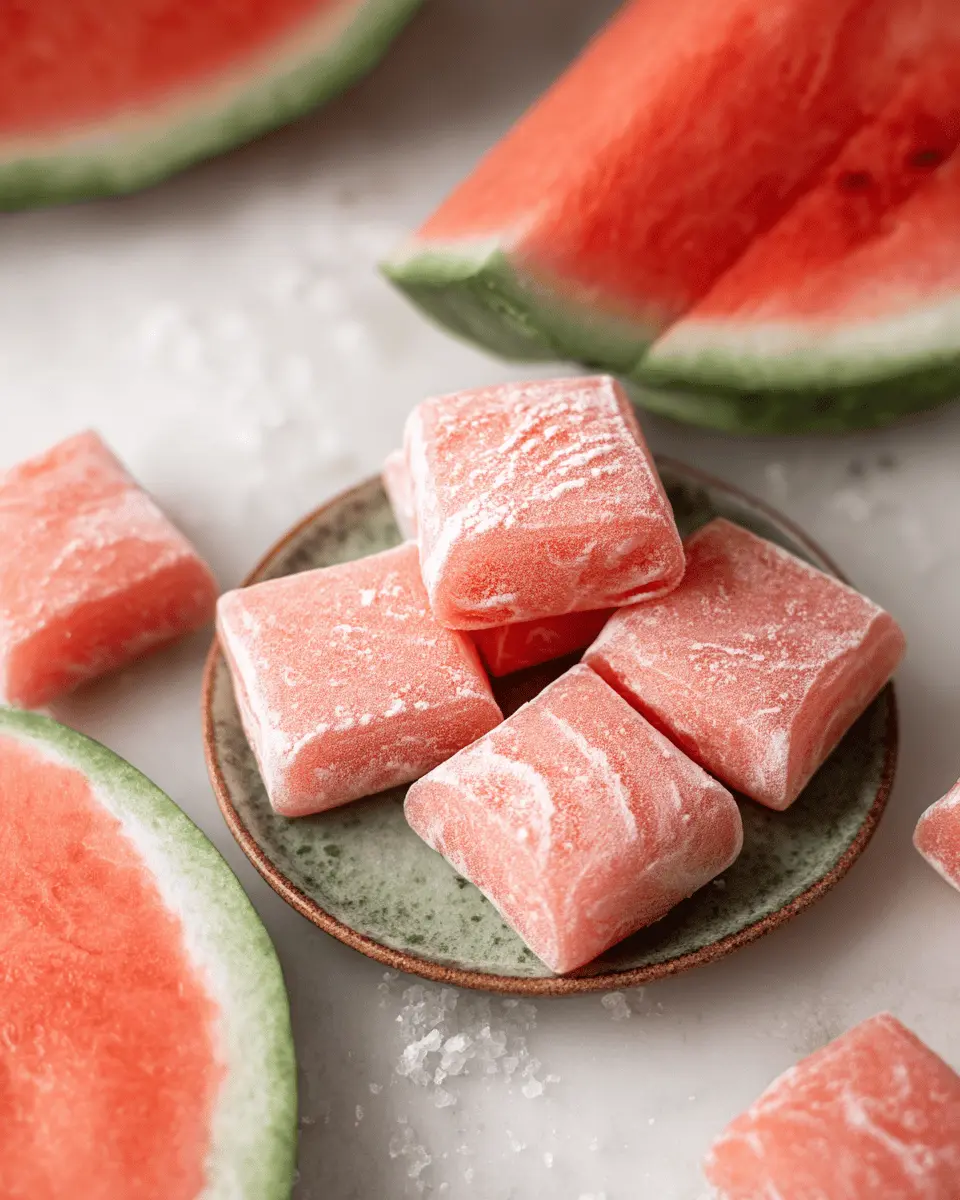
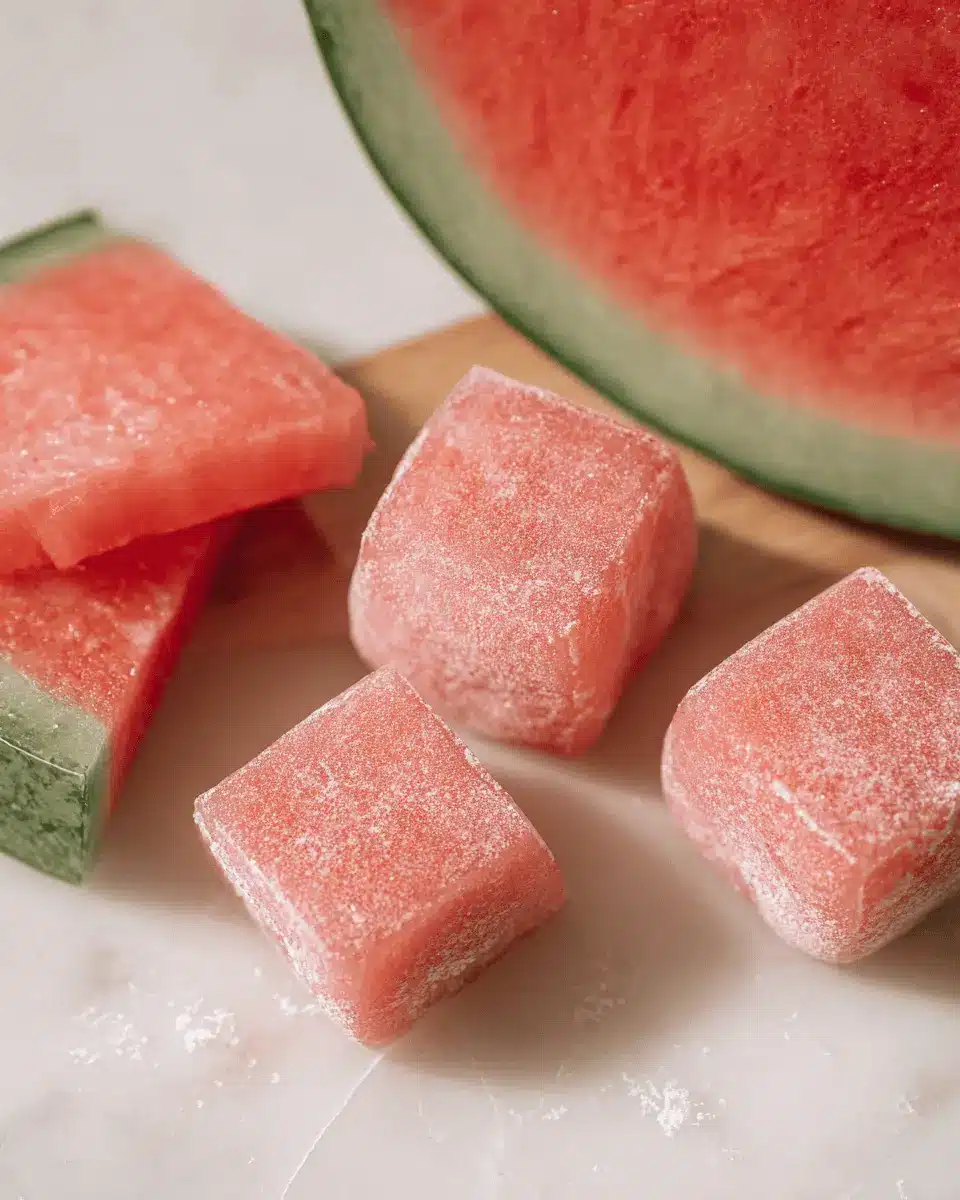
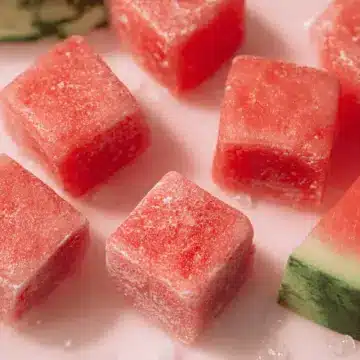
Once your watermelon mochi is chilled and firm, it’s time to dust your work surface with cornstarch. This’ll help prevent sticking when you cut the mochi into pieces. Carefully remove the mochi from the mold and place it on the dusted surface. Now you can slice them into squares, and don’t forget to give each piece a light dusting of cornstarch to make handling a breeze.
Enjoy the vibrant colors and flavors of your homemade watermelon mochi!
For a little extra fun, consider adding a filling like sweet red bean paste or even whipped cream to take your mochi game to the next level. Curious about other mochi flavors? Check out this article on The History of Mochi to inspire your next culinary adventure!
Variations on Watermelon Mochi
Tropical Fruit Mochi
If you’re looking to shake things up, consider transforming your watermelon mochi into a tropical delight! Swap the watermelon juice for fresh juices from mangoes or pineapples. This tangy twist not only enhances the flavor but also introduces a delightful burst of color. Perfect for summer gatherings, these fruit-infused mochis can be a refreshing treat that guests are sure to love.
Matcha Watermelon Mochi
For a unique flavor pairing, why not add a hint of earthy richness to your watermelon mochi? Incorporating matcha powder into the mix creates a beautiful contrast between the sweet and the bitter. Simply whisk in a tablespoon of matcha with the dry ingredients before adding the watermelon juice. This introduces an intriguing depth to your mochi, making it both visually captivating and deliciously complex.
Feel free to experiment and combine flavors to find your personal favorite! For more insights on fruits and mochi, check out expert resources such as Serious Eats or Just One Cookbook.
Cooking Tips and Notes for Watermelon Mochi
Tips for Achieving the Perfect Texture
To create the perfect watermelon mochi, focus on the consistency of your mixture. Stir continuously while cooking to prevent clumping and ensure even heat distribution. If the mochi feels too dry, adding a bit more watermelon juice or water can help achieve that lovely, sticky texture. Remember, the cooling step is crucial; allowing your mochi to chill thoroughly in the fridge helps solidify and refine its texture.
Common Mistakes to Avoid
When making watermelon mochi, a few pitfalls can derail your efforts. Avoid overcooking the mixture, as this can lead to a rubbery texture—nobody wants that! Additionally, be sure to line your mold with parchment paper; this simple step ensures easy removal later. Finally, don’t skimp on the use of cornstarch when dusting your work surface, as it helps prevent sticking and enhances the overall enjoyment of your mochi.
For more tips on mochi-making, check out Serious Eats for a comprehensive guide on mochi texture and consistency!
Serving Suggestions for Watermelon Mochi
Creative Ways to Serve Your Mochi
Watermelon mochi is a delightful treat that can be enjoyed in various creative ways. Consider serving them as bite-sized snacks at a summer picnic or a chic gathering. You can stack them on a platter, garnishing with fresh mint leaves for a pop of color and extra flavor. For a fun twist, try dipping half of the mochi in melted dark chocolate and sprinkling with sea salt to create a sweet-savory combination.
Pairing Suggestions for a Complete Dessert Experience
To elevate your watermelon mochi experience, think about pairing it with complementary flavors. A scoop of coconut sorbet or a tangy yogurt can provide a refreshing contrast. You might also enjoy them alongside a chilled herbal tea, enhancing the overall flavor profile. For an extra indulgent touch, serve with fresh tropical fruits like mango or pineapple to create a vibrant fruit platter. These pairings not only make for a visually appealing presentation but also introduce delightful flavor contrasts that will impress your guests!
Time Breakdown for Watermelon Mochi
Preparation Time
Getting everything ready for your watermelon mochi takes about 15 minutes. This includes making your fresh watermelon juice and mixing your dry ingredients.
Cooking Time
The cooking process is relatively quick, requiring just 5-8 minutes to achieve that perfect sticky consistency.
Cooling Time
Once cooked, allow the mochi to cool in the fridge for 1-2 hours. This step is crucial to get that ideal chewy texture!
For more tips on making the best mochi, visit Serious Eats or check out Epicurious for additional inspiration. Enjoy the process and happy cooking!
Nutritional Facts for Watermelon Mochi
Calories
Each serving of watermelon mochi typically contains around 100 calories. While it's a delightful treat, it’s always good to enjoy in moderation.
Sugar Content
Watermelon mochi has an appealing sweetness, primarily from added sugar and watermelon juice. One serving can contain approximately 15 grams of sugar, depending on the amount of sugar you choose to add.
Dietary Considerations
This dessert is gluten-free due to the use of glutinous rice flour, making it suitable for those with gluten sensitivities. However, if you're watching your sugar intake, consider adjusting the recipe by reducing the granulated sugar or serving size. For those interested in more nutritional advice, websites like Healthline offer valuable insights on balancing treats with a healthy diet.
This fun and chewy treat can be a lighter dessert option compared to heavier alternatives, making it perfect for warm days or a sweet post-meal snack!
FAQ about Watermelon Mochi
Can I Use Other Fruits for Mochi?
Absolutely! While this watermelon mochi recipe is delicious on its own, you can experiment with various fruits. Think mango, strawberry, or even matcha for a unique twist. Just remember to adjust the juice quantity for consistency, ensuring the batter stays thick yet pliable.
How Should I Store Watermelon Mochi?
To maintain the perfect texture, store your watermelon mochi in an airtight container in the refrigerator. It should stay fresh for about 3-4 days. If you want to enjoy them longer, consider freezing them. Just make sure to dust them with cornstarch to prevent sticking!
What’s the Best Way to Serve Mochi?
These delightful treats are best enjoyed chilled. You can cut them into bite-sized pieces and serve them on a platter. For an added touch, pair them with a scoop of ice cream or a drizzle of chocolate sauce for a fun dessert experience. Looking for ideas? Check out Serious Eats for more mochi inspiration!
Conclusion on Watermelon Mochi
Why You Should Try Making Watermelon Mochi Today!
There's something uniquely delightful about watermelon mochi. Combining the chewy texture of mochi with the refreshing taste of watermelon creates a magical dessert perfect for any occasion. Why not brighten your day with this simple yet innovative treat? Making it at home could soon become your favorite kitchen adventure!
Watermelon Mochi
Equipment
- blender
- Fine mesh sieve
- Deep frypan or saucepan
- spatula
- 12cm x 12cm square mold
- parchment paper
Ingredients
Mochi Mixture
- 200 g Glutinous rice flour
- 65 g Granulated sugar
- 40 g Corn starch
- 240 ml Watermelon juice, strained
- 1.5 tablespoon Vegetable oil
Instructions
Main Instructions
- To make the watermelon juice place watermelon flesh in a blender and blitz until smooth, then pass through a fine mesh sieve to remove any pulp.
- Combine the glutinous rice flour, sugar, and cornstarch in a bowl.
- Add the watermelon juice and oil, and whisk until smooth.
- Heat a deep frypan or saucepan over medium heat and add the mochi mixture.
- Heat, stirring consistently, for 5-8 minutes, or until the mochi mixture thickens and changes into a dark pink translucent color (the mixture should be very sticky).
- Remove from the heat.
- Prepare a 12cm x 12cm square mold and line it with parchment paper, if you don’t have that size any small rectangular container should work.
- Pour the warm mochi into the lined mold and press it down the spatula to flatten it.
- Place the mochi in the fridge to cool for 1-2 hours, or until slightly firmed up.
- Dust your work surface with cornstarch.
- Remove the mochi from the mold and place it on the dusted surface.


Leave a Reply