
Introduction to Easy Apple Crisp
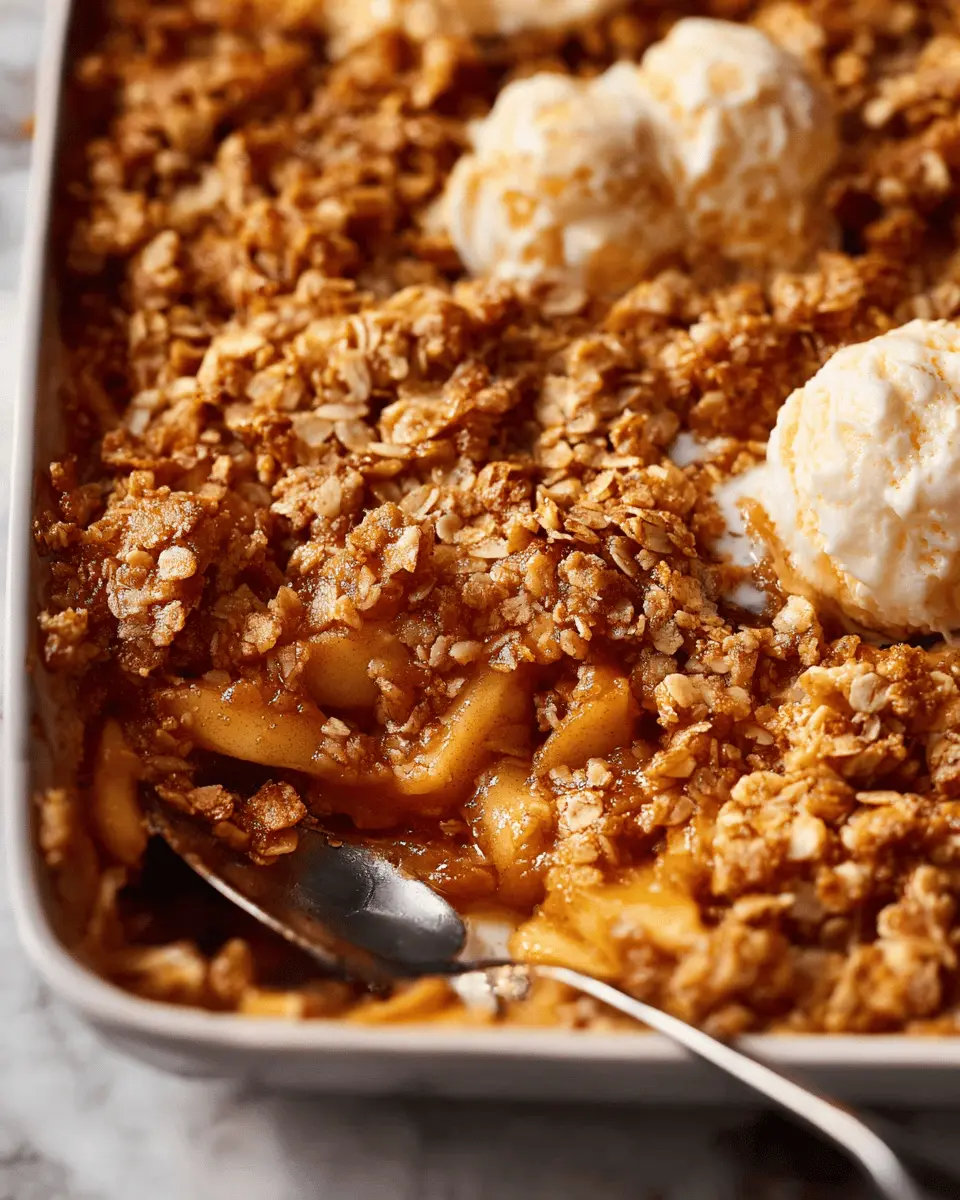
If you’re looking for a warm, comforting dessert that literally screams fall, look no further than easy apple crisp. This delightful dish combines tender, cinnamon-spiced apples with a buttery, crunchy topping that is just out of this world. What makes apple crisp a must-try dessert?
For starters, it’s incredibly versatile. You can use any variety of apples you have on hand—Honeycrisp for sweetness, Granny Smith for tartness, or even a mix—to tailor the flavor to your liking. The harmonious blend of spices elevates the fruit and fills your kitchen with a mouthwatering aroma that will leave everyone guessing what’s baking.
Another reason to love this recipe? It’s simple and quick to prepare, making it perfect for both novice and experienced bakers alike. Just gather your ingredients, toss the apples, and mix the topping—before you know it, you’ll have a bubbly, golden crisp fresh from the oven.
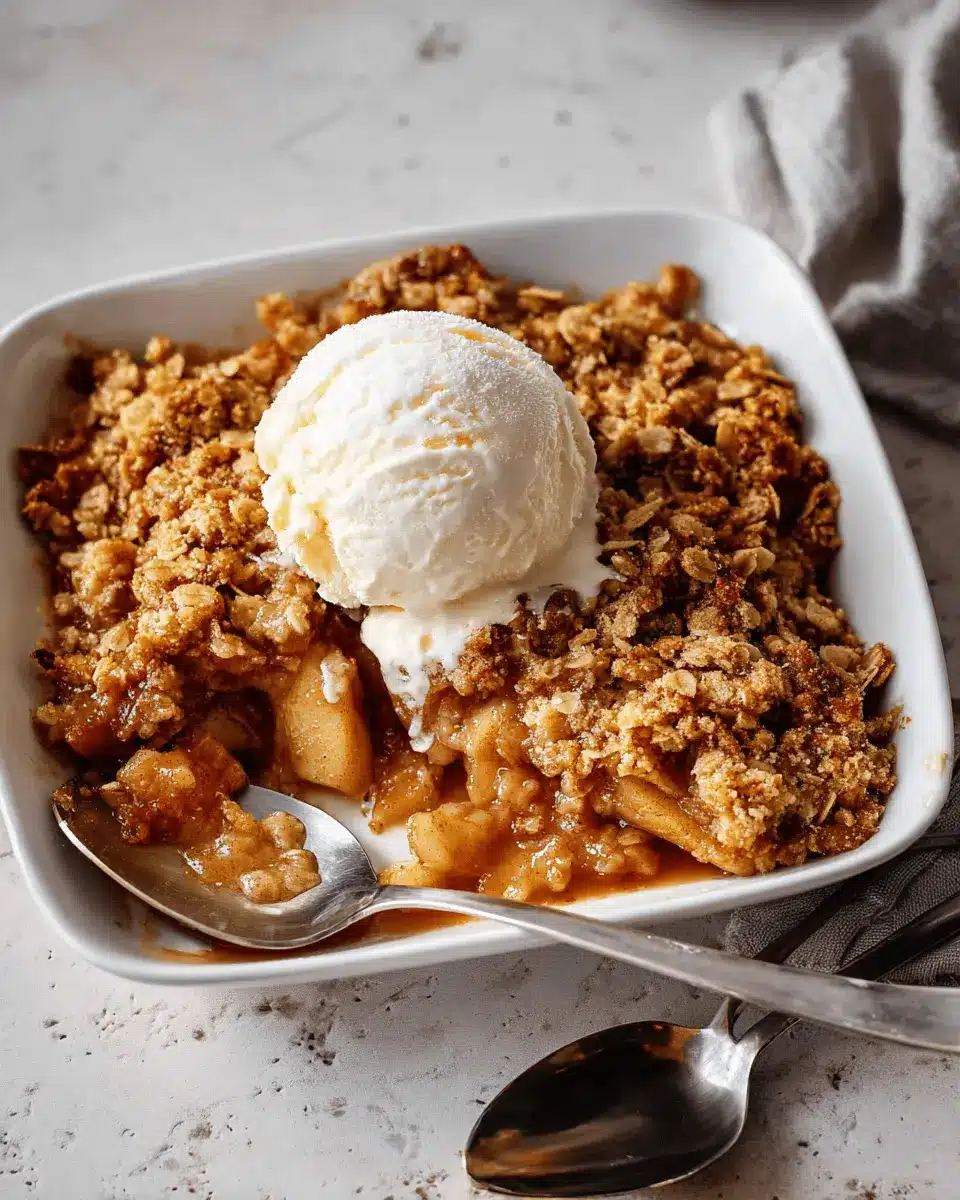
Plus, easy apple crisp is the ideal dessert for gatherings, holidays, or a cozy night in with friends. Imagine serving it warm, perhaps with a scoop of vanilla ice cream on top. Are you ready to make this comforting classic? Let's dive into the recipe!

Ingredients for Easy Apple Crisp
Creating a delightful easy apple crisp is simple, and you'll find that half the fun is in selecting your ingredients! Here’s a breakdown to help you gather everything you need.
For the filling
- 6 medium apples: I recommend a combination of Honeycrisp and Granny Smith for the perfect blend of sweetness and tartness.
- 1 tablespoon lemon juice: This brightens the flavor and helps prevent browning.
- ½ cup granulated sugar: Adjust this based on your apple’s sweetness.
- 1 teaspoon ground cinnamon: A must for that warm, cozy flavor.
- ¼ teaspoon ground nutmeg: Just a hint for added warmth.
For the topping
- 1 cup old-fashioned oats: These provide the perfect texture!
- ½ cup all-purpose flour: Helps bind everything together.
- ½ cup brown sugar: For a richer sweetness.
- ½ teaspoon cinnamon: Because more is always better!
- 1 stick (½ cup) unsalted butter, cold and cubed: This is crucial for a crumbly topping.
- Pinch of salt: Enhances the flavors beautifully.
- Optional: Add ½ cup chopped pecans or walnuts for a delightful crunch.
With these ingredients, you’re well on your way to baking an irresistibly cozy easy apple crisp! If you want to dive deeper into the health benefits of apples, check out this USDA article for more insights!
Preparing Easy Apple Crisp
Making an easy apple crisp is not only a delightful way to enjoy seasonal apples, but it also fills your home with the most inviting aroma. With just a few simple steps, you’ll create a warm, comforting dessert that’s perfect for gatherings or cozy nights in. Let's dive into the process!
Step 1: Preheat your oven
Start by preheating your oven to 350°F (175°C). This step is crucial, as it ensures your apple crisp bakes evenly. While your oven warms up, take a moment to liven up your kitchen with the scents of cinnamon and sugar—even just thinking about it can be comforting!
Step 2: Prepare the apples
Next, you’ll want to peel, core, and slice 6 medium apples. Family favorites like Honeycrisp and Granny Smith work well due to their perfect balance of sweetness and tartness. Once you have them all prepped, toss the apple slices in a bowl with 1 tablespoon lemon juice to prevent browning. Then, mix in ½ cup granulated sugar, 1 teaspoon ground cinnamon, and ¼ teaspoon ground nutmeg. This not only adds flavor but also creates a syrupy base that enhances the crunch of the topping.
Step 3: Mix the filling ingredients
Now, layer your sugary apple mixture evenly in a lightly buttered 9x13-inch baking dish. The combination of spices and sugar will make every bite irresistible. If you want to explore further, check out this article on enhancing apple recipes for extra inspiration.
Step 4: Make the crisp topping
In a separate bowl, combine 1 cup old-fashioned oats, ½ cup all-purpose flour, ½ cup brown sugar, ½ teaspoon cinnamon, and a pinch of salt for added flavor. Next, cut in ½ cup cold, cubed unsalted butter until the mixture resembles coarse crumbs. If you love a little crunch, consider tossing in ½ cup chopped pecans or walnuts—they add a nutty texture that complements the apples perfectly.
Step 5: Combine and bake
Sprinkle the crisp topping generously over the apples, making sure no apple slice is left uncovered. Pop the dish into your preheated oven and bake for 40–45 minutes. Keep an eye on it until the top is golden brown and the apples are bubbly—they're practically begging to be served warm!
Serve your easy apple crisp with a generous scoop of vanilla ice cream or a dollop of whipped cream for that ultimate dessert experience. You can also check out ways to pair this dish with a homemade caramel sauce for an added twist.
So, gather your ingredients and get started on this delightful treat that’s sure to impress everyone around the table!
Variations on Easy Apple Crisp
Apple crisp is a versatile dessert that invites creativity in the kitchen! Here are two delicious variations to put your twist on this classic favorite.
Apple Crisp with Berries
Why not combine the tartness of apples with the sweetness of berries? Adding fresh or frozen blueberries, raspberries, or strawberries to your easy apple crisp filling not only enhances flavor but also adds vibrant color. Toss in a handful of berries along with the apple filling, and you’ll be treated to a delightful burst of fruity goodness in every bite.
Check out this berry benefits article for more reasons to include them in your desserts!
Nutty Apple Crisp
For a heartier crunch, incorporate nuts into your easy apple crisp topping. Chopped pecans or walnuts bring texture and depth to the flavor. Feel free to experiment with nuts – almonds or hazelnuts can work beautifully, too! Add about ½ cup to the topping mixture for the perfect nutty finish. You can also drizzle some maple syrup over the top for an extra layer of sweetness.
These variations will keep your easy apple crisp fresh and exciting. Happy baking!
Cooking Tips and Notes for Easy Apple Crisp
Choosing the Right Apples
For your easy apple crisp, picking the right apples is crucial. A blend of tart and sweet varieties like Honeycrisp and Granny Smith creates a delightful balance. Honeycrisp adds sweetness and juiciness, while Granny Smith provides that tangy zing. Try experimenting with different combinations, like Fuji or Braeburn, for a unique twist!
Making It Ahead of Time
Want to prep your easy apple crisp in advance? You can assemble the filling and topping and store them separately in the fridge. Just combine and bake before serving! This makes it a great dish for gatherings or weeknight treats. Plus, warming it up in the oven fills your home with that irresistible aroma—who could resist?
For more tips on apple varieties, check out this guide to make the most of your apple desserts!
Serving Suggestions for Easy Apple Crisp
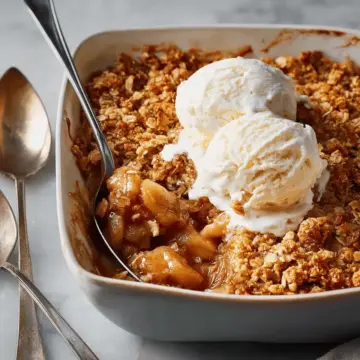
Best Pairings: Ice Cream and Whipped Cream
Nothing elevates your easy apple crisp quite like a generous scoop of vanilla ice cream or a dollop of whipped cream on top. The warm, spiced apples and the crunchy topping create a beautiful contrast against the cool creaminess. For an extra twist, consider opting for cinnamon ice cream or even almond-flavored whipped cream. These alternatives can introduce a delightful complexity to your dessert experience, making it cozy and inviting.
Creative Serving Ideas
Don’t just stick to the basics! Here are some fun ways to serve your easy apple crisp:
- Layer it in a glass with Greek yogurt for an indulgent parfait.
- Bake individual servings in ramekins for a charming presentation.
- Top with chopped nuts like walnuts or pecans for added crunch and flavor.
- Pair it with homemade caramel sauce for a sweet drizzle that complements the dish perfectly.
Mix and match to create your ideal dessert plate, and don't forget to share your creations with friends!
Time Breakdown for Easy Apple Crisp
Preparation Time
Getting ready to make your easy apple crisp is a breeze! You'll need about 15 minutes to peel, core, and slice those delicious apples and mix the filling.
Baking Time
Once everything is prepared and layered, pop it in the oven! Your apple crisp will bake for around 40 to 45 minutes, filling your kitchen with a delightful aroma.
Total Time
In total, expect to spend about 55 to 60 minutes from start to finish, making this a quick and rewarding dessert option. Perfect for busy weeknights or special occasions!
Feel free to check out this guide on apple varieties for more tips on choosing the best apples for your crisp. And if you’re looking for an excellent scoop of ice cream to top it off, consider visiting or ordering from your local creamery for that perfect pairing!
Nutritional Facts for Easy Apple Crisp
Calories
One serving of this delightful easy apple crisp contains approximately 210 calories. This makes it a satisfying treat without overwhelming your daily caloric intake. Perfect for dessert or even a cozy breakfast option!
Sugar Content
You’ll find that each serving of our easy apple crisp has around 14 grams of sugar. While this includes natural sugars from the apples and some added sugar for sweetness, it strikes a nice balance that keeps it enjoyable without being excessively sweet.
Dietary Fiber
This delicious dessert is not just tasty but also beneficial! Each serving provides about 3 grams of dietary fiber, thanks to the oats and apples. This is great for digestion and helps keep you feeling full longer.
For more on the health benefits of oats and apples, check out the Harvard T.H. Chan School of Public Health and USDA’s dietary guidelines.
FAQs about Easy Apple Crisp
Can I use frozen apples?
Absolutely! Using frozen apples is a convenient option, especially if you want to make your easy apple crisp out of season. Just ensure they’re thawed and well-drained to avoid excess liquid. You might want to add a tad more sugar, as frozen apples can sometimes lose a bit of sweetness during the freezing process.
For a detailed guide on using frozen fruit, check out resources from the USDA here.
What’s the best way to store leftovers?
Store any uneaten easy apple crisp in an airtight container in the refrigerator. It stays fresh for about 3-4 days. Simply reheat it in the oven or microwave when you're ready to enjoy a quick dessert. For optimal taste, re-crisp in the oven at 350°F (175°C) for about 10 minutes.
How can I make it healthier?
You can make your easy apple crisp healthier by swapping out some ingredients. Consider using less sugar, or substitute it with natural sweeteners like honey or maple syrup. You can also replace the butter with coconut oil for a dairy-free alternative, or use whole wheat flour for added fiber. Check out this article for more on the benefits of whole grains!
Conclusion on Easy Apple Crisp
In summary, making this easy apple crisp is not just about enjoying a delicious dessert; it's also a wonderful way to showcase seasonal apples and indulge in cozy flavors. Whether served warm with ice cream or enjoyed on its own, it’s sure to bring a smile. Happy baking!
Easy Apple Crisp Recipe: Your New Favorite Indulgent Dessert
Equipment
- 9x13-inch baking dish
Ingredients
For the Filling
- 6 medium apples (Honeycrisp and Granny Smith)
- 1 tablespoon lemon juice
- 0.5 cup granulated sugar
- 1 teaspoon ground cinnamon
- 0.25 teaspoon ground nutmeg
For the Topping
- 1 cup old-fashioned oats
- 0.5 cup all-purpose flour
- 0.5 cup brown sugar
- 0.5 teaspoon cinnamon
- 0.5 cup unsalted butter, cold and cubed 1 stick
- pinch of salt
- 0.5 cup chopped pecans or walnuts (optional) for extra crunch
Instructions
Method
- Preheat oven to 350°F (175°C). Lightly butter a 9x13-inch baking dish.
- Peel, core, and slice apples. Toss with lemon juice, sugar, cinnamon, and nutmeg. Spread evenly in the prepared baking dish.
- In a bowl, combine oats, flour, brown sugar, cinnamon, and salt. Cut in the butter until the mixture becomes crumbly.
- Sprinkle the topping over the apples.
- Bake for 40–45 minutes, or until the top is golden brown and the apples are bubbling.
- Serve warm, ideally with vanilla ice cream or whipped cream.


Leave a Reply